
How to Create Amazing Images Using a Circular Prism – Photography Tutorial
Your Guide to Using a Circular Prism – Photography Tutorial
Using a circular prism is an awesome way to add some flair and fun to your photography so I created this tutorial to show you how to do it! If you know me, you know that I’m all about finding new and creative photography techniques and figuring out how to do them through trial and error. This blog is here to give you all the info you’ll need to be able to use this creative technique. I’ll also share with you some mistakes I made along the way, and who doesn’t love mistakes?

Some of the links in this post may be affiliate links, but only for products I use and love (seriously, I only included them if I was obsessed with them!). If you buy through them, I’ll earn some cash for coffee (or tea). But don’t worry, I’ll use that energy to create more helpful content for you!
Where to get a circular prism
These are actually for a chandelier and they are really cheap! This circular prism is the kind you will need.
Which lens should you use with a circular prism?
I’ve tried this with a 35mm, 50mm and 85mm lens and I like them all for different reasons. With the 35mm, you can hold the prism pretty close to the lens, and with a 50mm or 85mm, you’ll want to hold the prism a little farther back from the lens.
Look through the images on this post to see what lenses were used for each shot.
What lighting conditions are best for circular prism photography?
You can use a circular prism in any lighting condition, you will just get different results depending on the available light. Let me show you a few scenarios to explain what happens in different situations.
My absolute favorite way to use a circular prism is when the sun is low in the sky and utilizing backlighting. So just before sunset or after sunrise. The prism picks up all that golden sun and makes the most gorgeous, shiny ring around your subject. The next photo was taken with an 85mm at f4.0.
You can also use it with window light behind your subject and the prism will pick up the shape of whatever is in or outside the window because that is the brightest part of the scene. Or it might grab light pieces on your subject’s clothing or even pale faces. In the photos below, you’ll see that the prism picked up the hearts from my daughter’s pants & her pale hand, and the green trees from the window.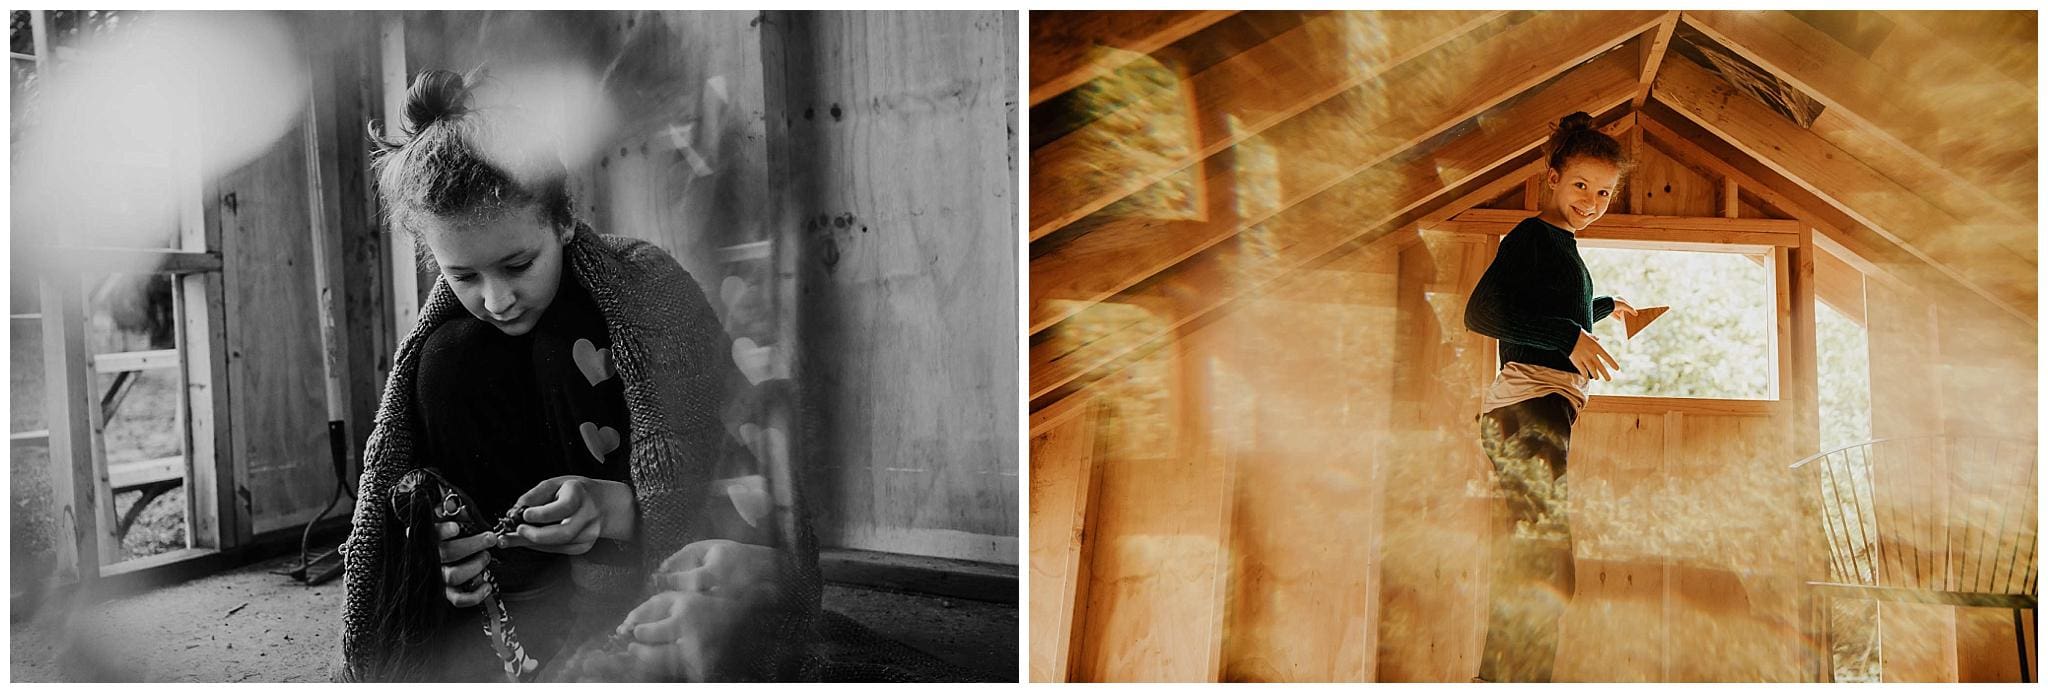
And in the next photo, it picked up those Easter decals that are stuck to her window. Full disclosure: I took this image last weekend and it is January. Maybe it’s time to scrape those things off?? 35mm at 1.8
And here, it picked up her face, which is creepy but cool at the same time. 35mm at 1.8 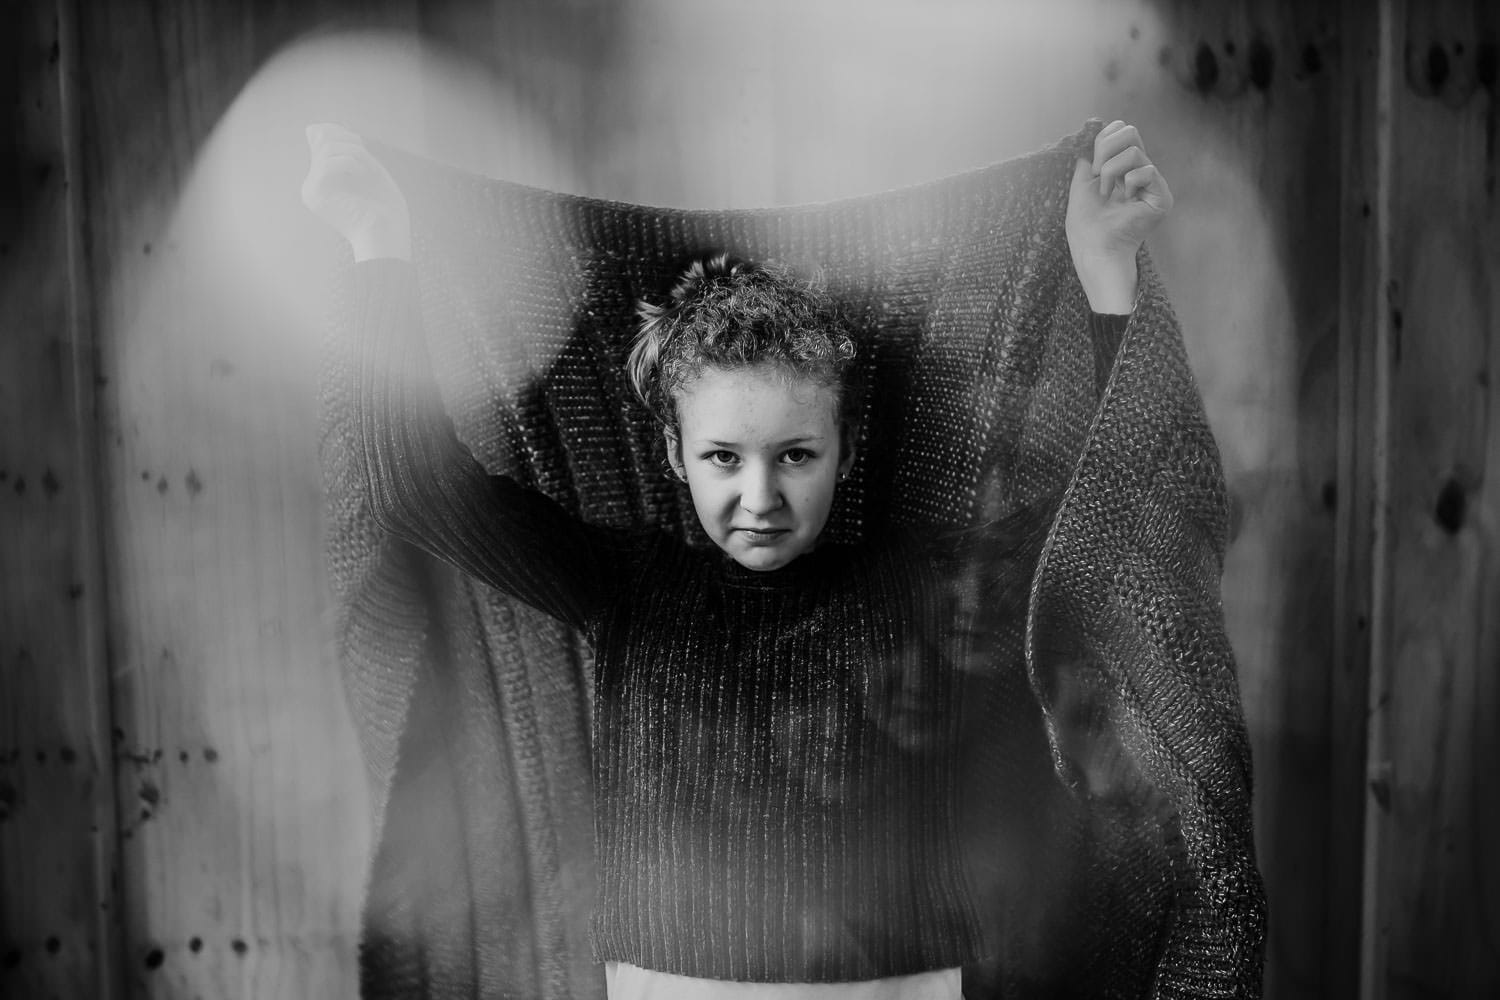
Another way to use your circular prism is indoors without a light source behind your subject. In this case, it will pick up shapes from whatever bright things are around you. In the examples below, I used a 35mm at 2.0 and the prism picked up the light from windows behind me.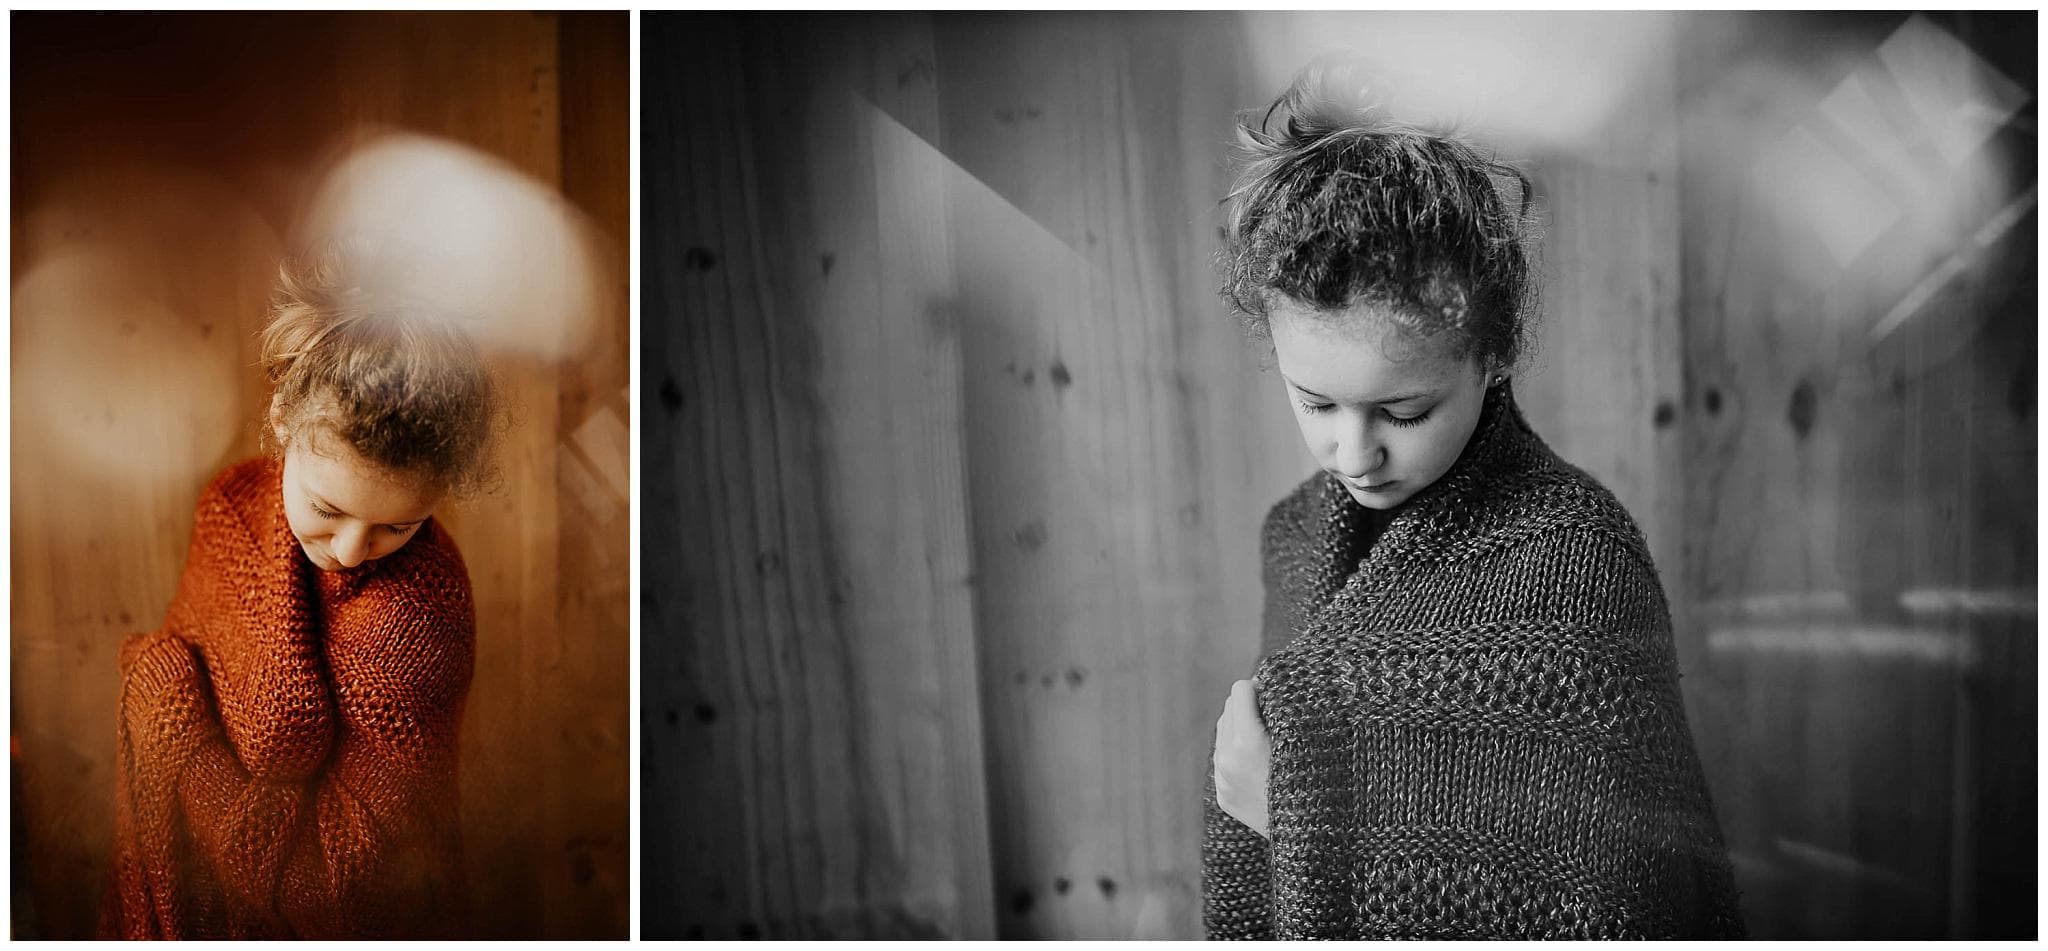
If you want to try an 85mm indoors without bright lights, it will most likely not give you that circular look, but it does do some interesting reflecting and sometimes you get rainbows. In this photo, I used an 85mm at f2.0.
Selecting the best aperture
I’ve noticed that your ideal aperture is different depending on the lighting. If your light source is super bright (like the sun), you’ll want a larger aperture. I think that around 4.0 is the sweet spot for me. Any smaller and the effect kind of takes over the entire photo. But when you’re inside and the light source isn’t as bright, you will want a smaller aperture closer to 2.0. So basically, the brighter the light source, the larger the aperture. But mess around with this and see what happens!
Below is a photo at sunset using a 35mm lens at 4.0 (photo is cropped in, FYI)
How to hold the circular prism correctly
This might be the most important part of this entire circular prism photography tutorial! If you try to just hold it with your fingers, your fingers will not be able to hide. This is especially true when using a wider lens like the 35mm. See the example below where I had to crop the image in (and also those two above) because my stupid fingers ruined it.
So the solution is to get a string or something that will fit through the hole on the side. Since it was made for a chandelier, luckily the hole is already there. The only issue I’ve found is that my string breaks after a while since the prism is a little on the sharp side (which is why sometimes I have to use my fingers).
Once you have a string tied on, you just hold the string tight, right next to the prism so you have a good hold on it. If you hold the string farther back, the prism will spin and swing and could hit your lens. So don’t do that. Make sure to be really careful that the prism doesn’t touch your lens because you don’t want any scratches! I’d suggest either putting on your lens hood for extra space between your lens and the prism, or putting a filter over your lens. Scratching a filter is way better than scratching a lens!
More circular prism photography
85mm at f4.0
35mm at f1.8
85mm at f5. (the sun was still not at the horizon line so it was super bright, therefore I needed a larger aperture here.)
Now go grab a circular prism and make some magic!
Other fun photography tutorials
If you liked this tutorial on how to use a circular prism, I have more fun and creative photography ideas for you! Go check them out:
Ring of Fire Photography Tutorial
Creating Dreamy, Beautiful Images with the CineBloom Lens Filter
I have tons more blog posts for photographers, plus a shop with helpful guides. I also sell my presets! Check my resources for photographers page for more info.


I LOVE love love how your photos look! It’s like they are from a fairytale. Thank you for sharing how to achieve this.
I have a few Family members that do photography as a hobby. I’ll have to tell them about this.
Wow these pictures are amazing
Love these pictures! I only have a camera on my phone!