How to: Ring of Fire Tutorial| Beautiful Photography Tutorial
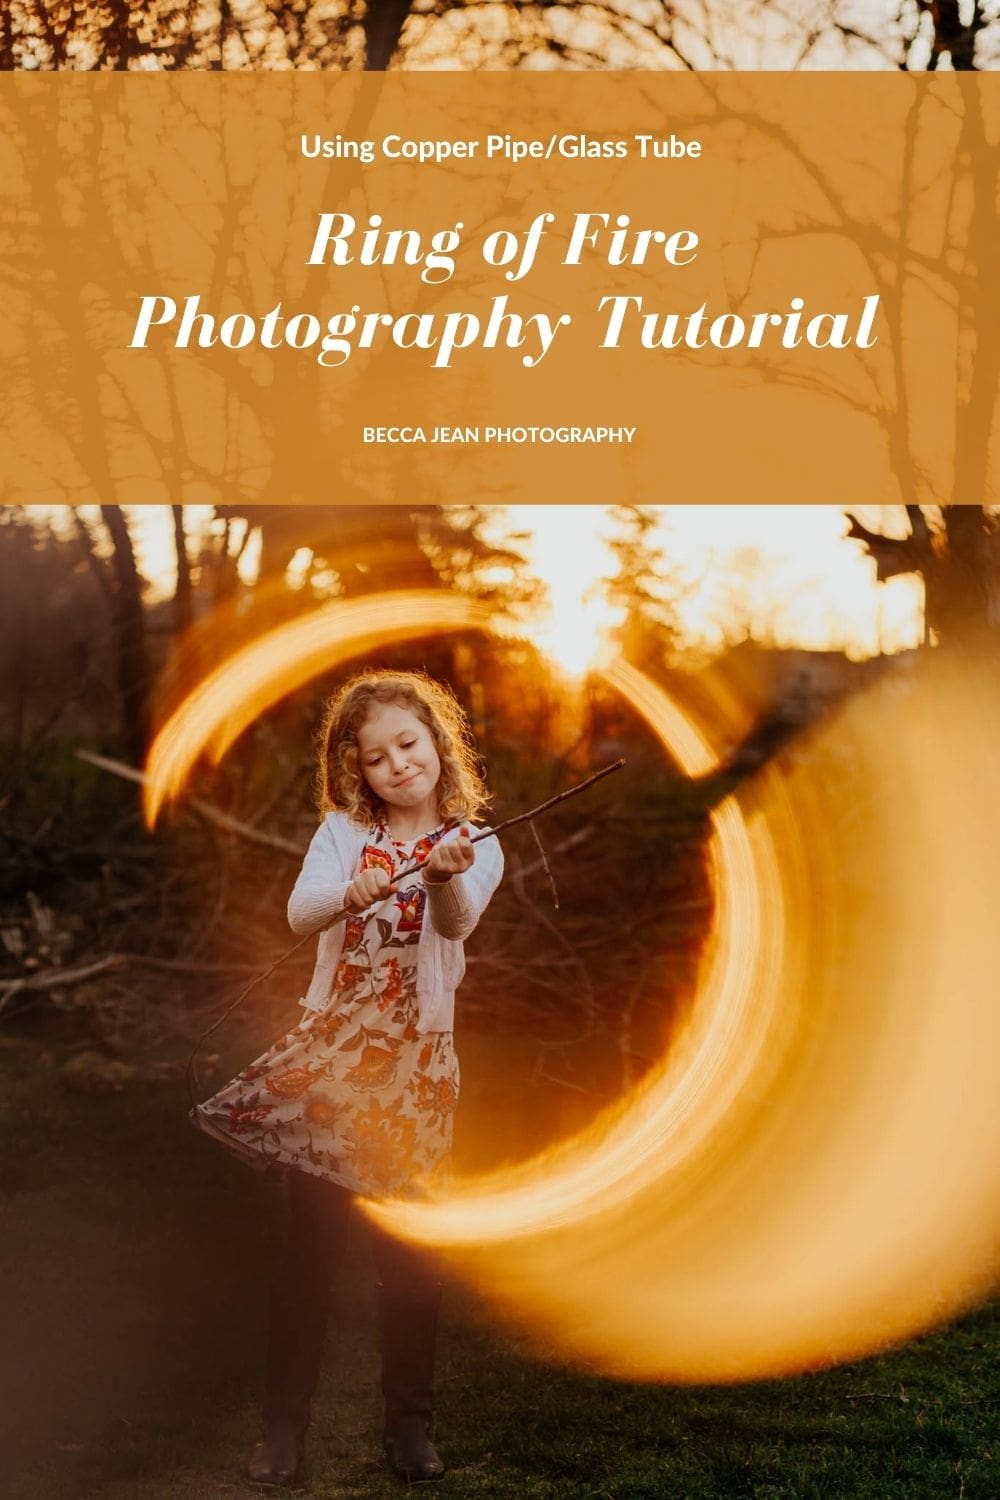
Ring of Fire Photography Tutorial
I learned the ring of fire photography technique a while back but it was really hard to find a good tutorial online on how to do it. It’s one of my favorite ways to add some flair to a photo session so I wanted to share it with you all. If you’re a photographer, this is fun technique you can try at your next shoot, and if you’re not, then just ask me to create an image like this for your next session!
Some of the links in this post may be affiliate links, but only for products I use and love (seriously, I only included them if I was obsessed with them!). If you buy through them, I’ll earn some cash for coffee (or tea). But don’t worry, I’ll use that energy to create more helpful content for you!
Step 1: Get the correct supplies
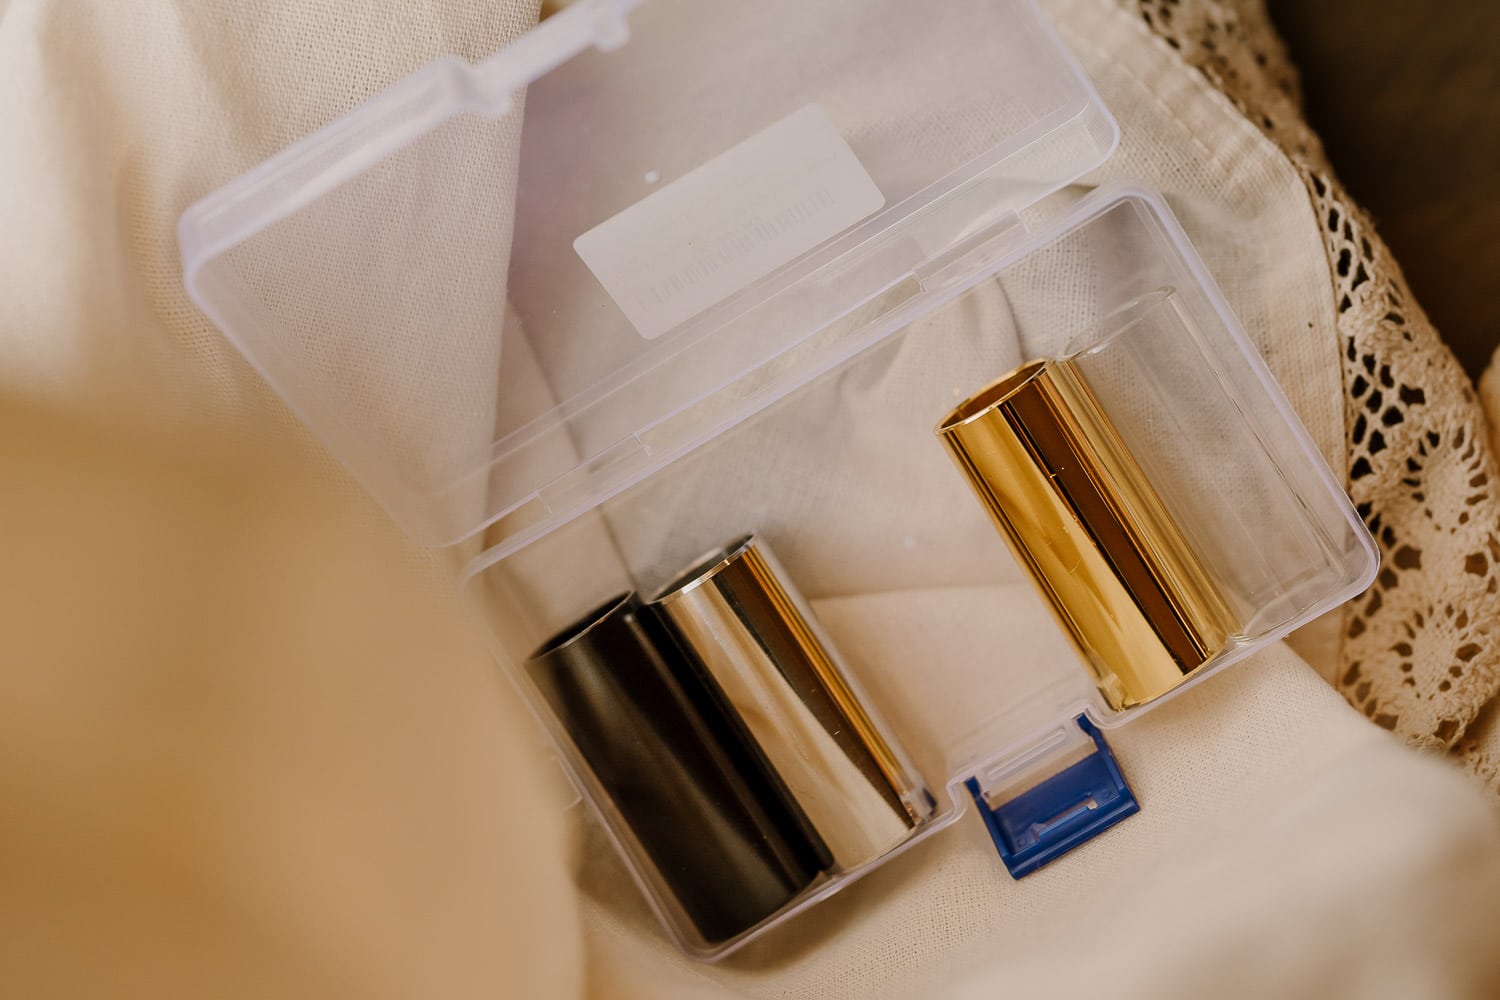 You’ll need either guitar slides (this is the set I have, pictured above) or a copper pipe, which can be purchased from any hardware store (I also have one of those). I really like using a guitar slide, so if you want to mess with different ones, grab that set on Amazon! You’ll want a copper pipe or guitar slide that is about 1-2 inches long, and 1-2 inches wide. Or somewhere around there. The size copper pipe I have is 2 inches long and 1.25 inches wide, and the guitar slides I have are 2.3 inches long and 1 inch wide. But you can experiment with different sizes. Just have fun with it. This is art, there are no rules!
Step 2: Pick the right photography lens
I have experimented with lenses that have shorter focal lengths but found that anything less than 50mm will not work well. 85mm works best, in my opinion. Surprisingly, this doesn’t work very well on the new 85mm RF 1.2 lenses because the glass is TOO good at avoiding flare. I have a really hard time getting a full ring. So all of these examples were not with that lens even though I do love it. Any time I talk about my Canon 85mm, I’m talking about the EF version.
For this photo I used a copper pipe, my canon 85mm and put my Aperture at F2.8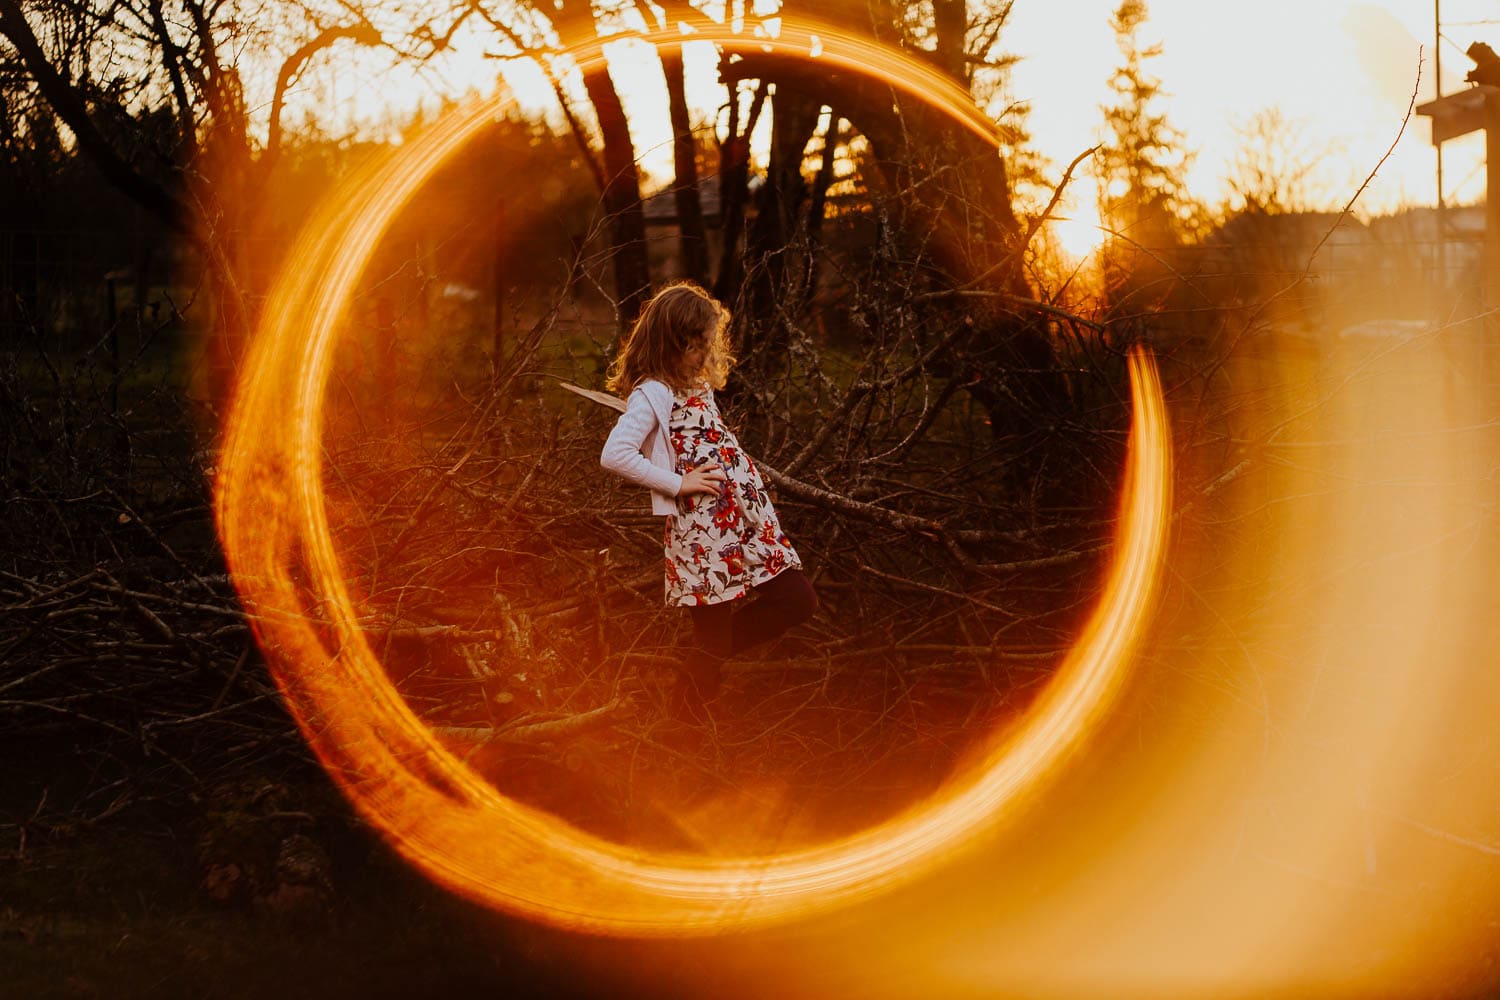
And just to show you what will happen if you use a wider lens, the below image was taken with my 35mm, and my finger was always in the way, so I had to hold the clear guitar slide more at the edge to avoid that (but still couldn’t avoid it!). I couldn’t make the ring go around her so I just decided to add some flair to the edge of the photo. It turned out cool anyway, but it isn’t a true ring of fire. And I had to crop this in a lot to get rid of my dumb fingers ????.
Step 3: You must have a light source for the ring of fire photography technique!
You need some kind of light for this to work, so on cloudy days, this will not be a technique you’ll be trying. My chosen light source is typically the sun, but you can also use Christmas tree lights and get some really cool results. I love using the setting sun for this, but you could also use daytime sun (more on that later).
For these Christmas tree light photos, I used a glass guitar slide and my 85mm lens at F2.5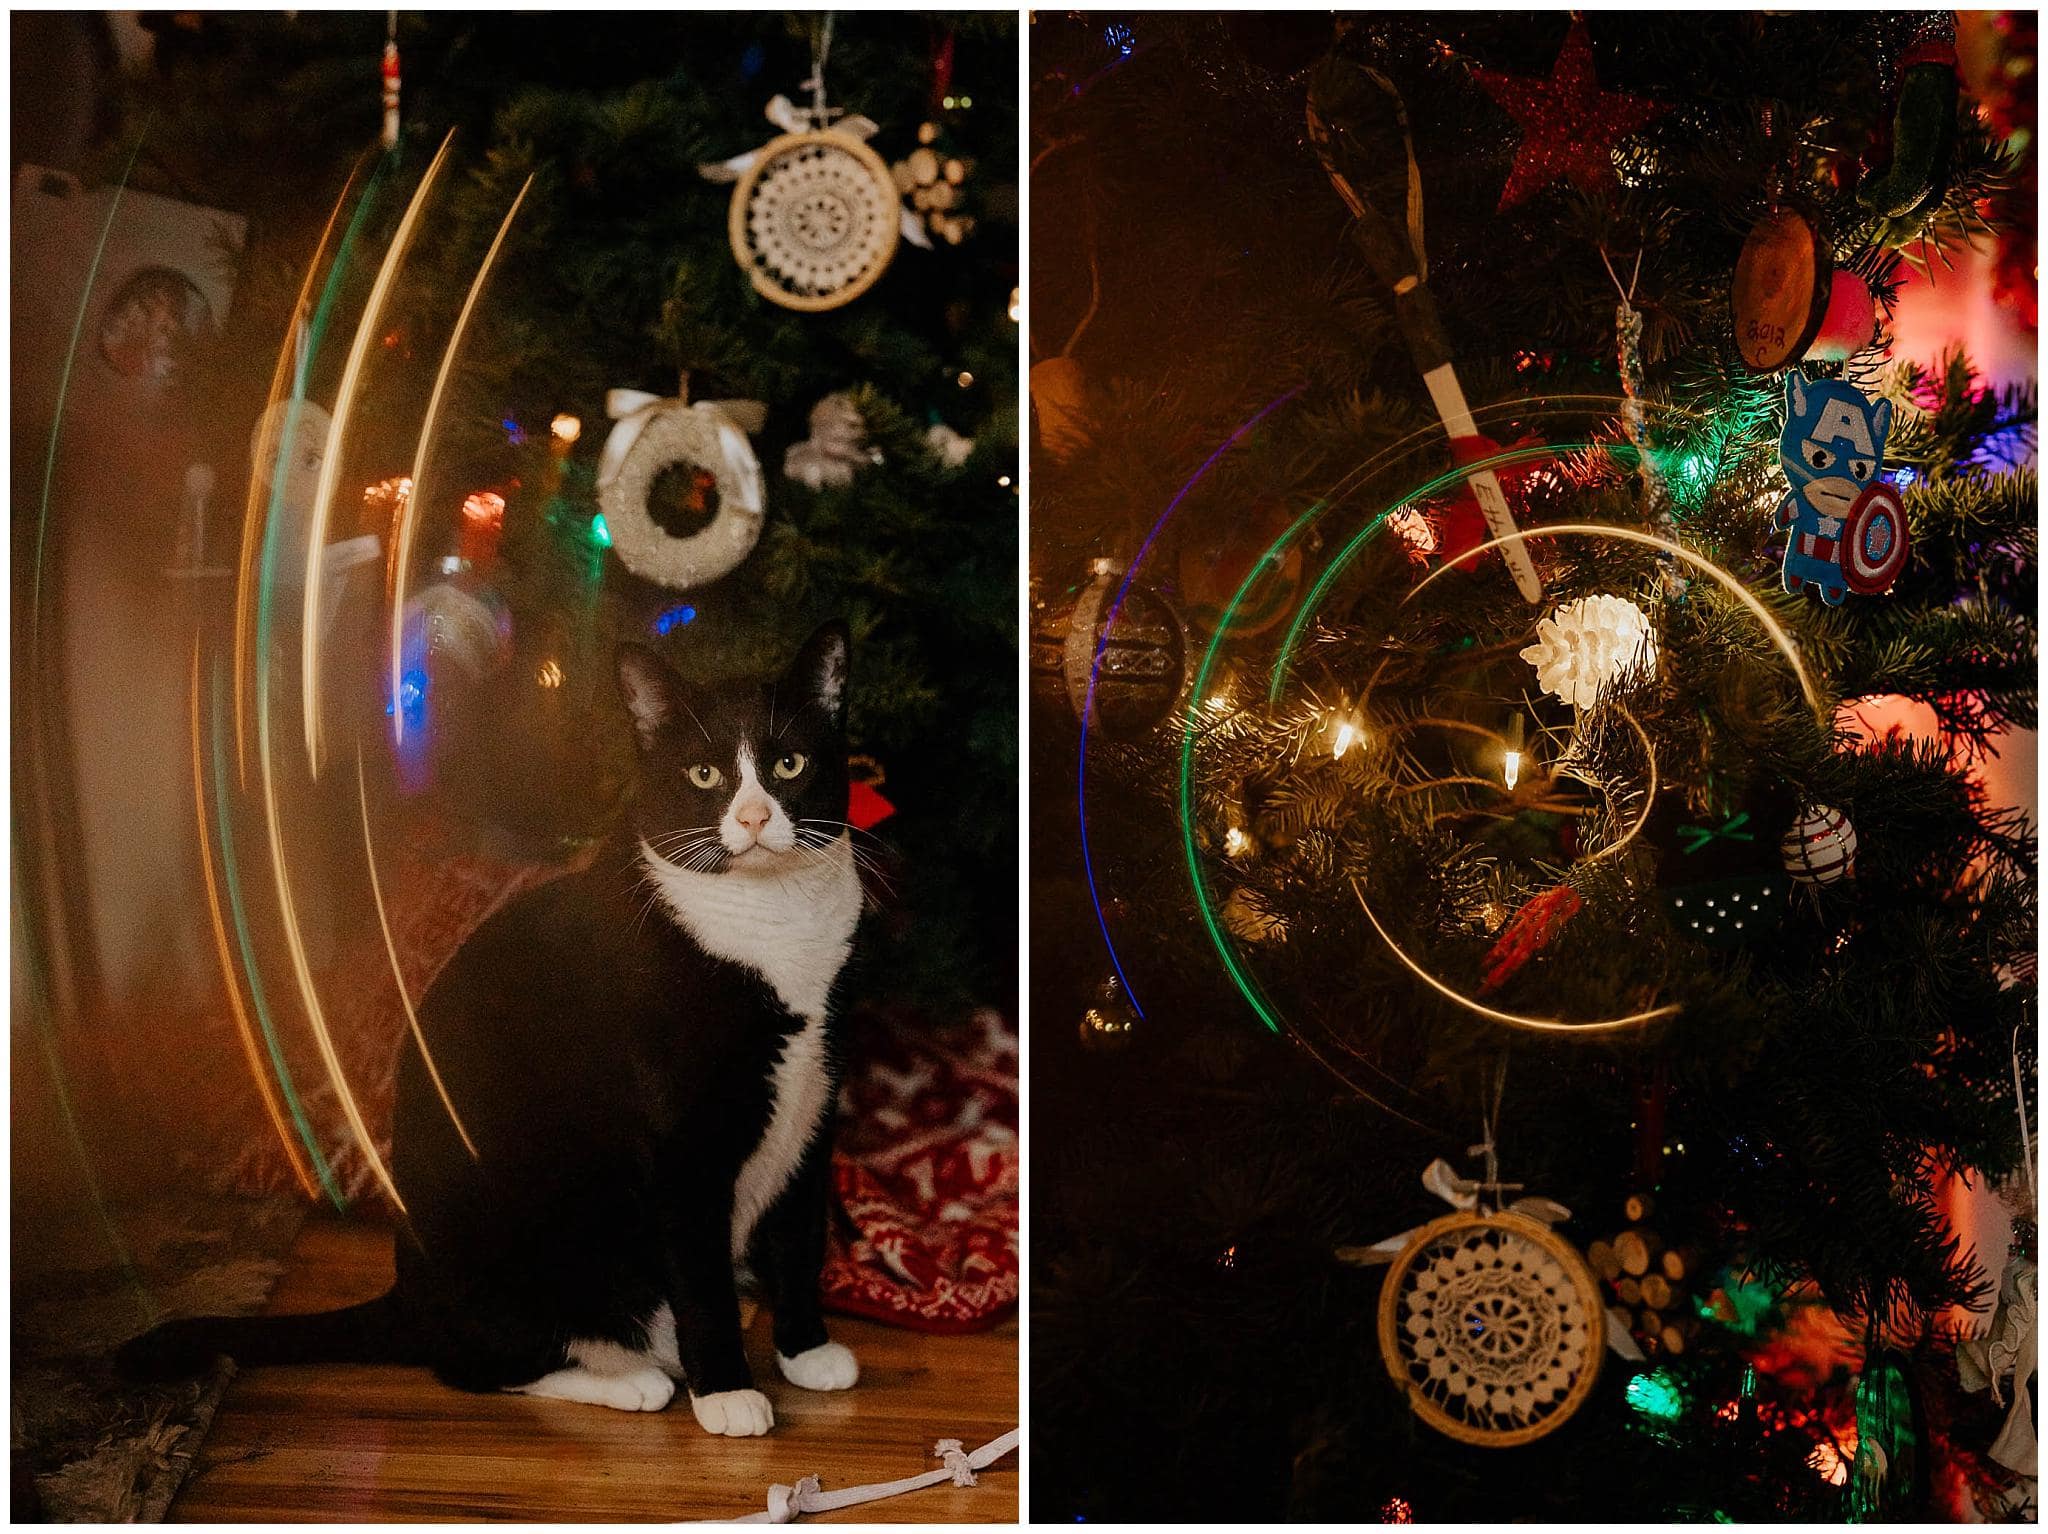
Step 4: Partially block your light source
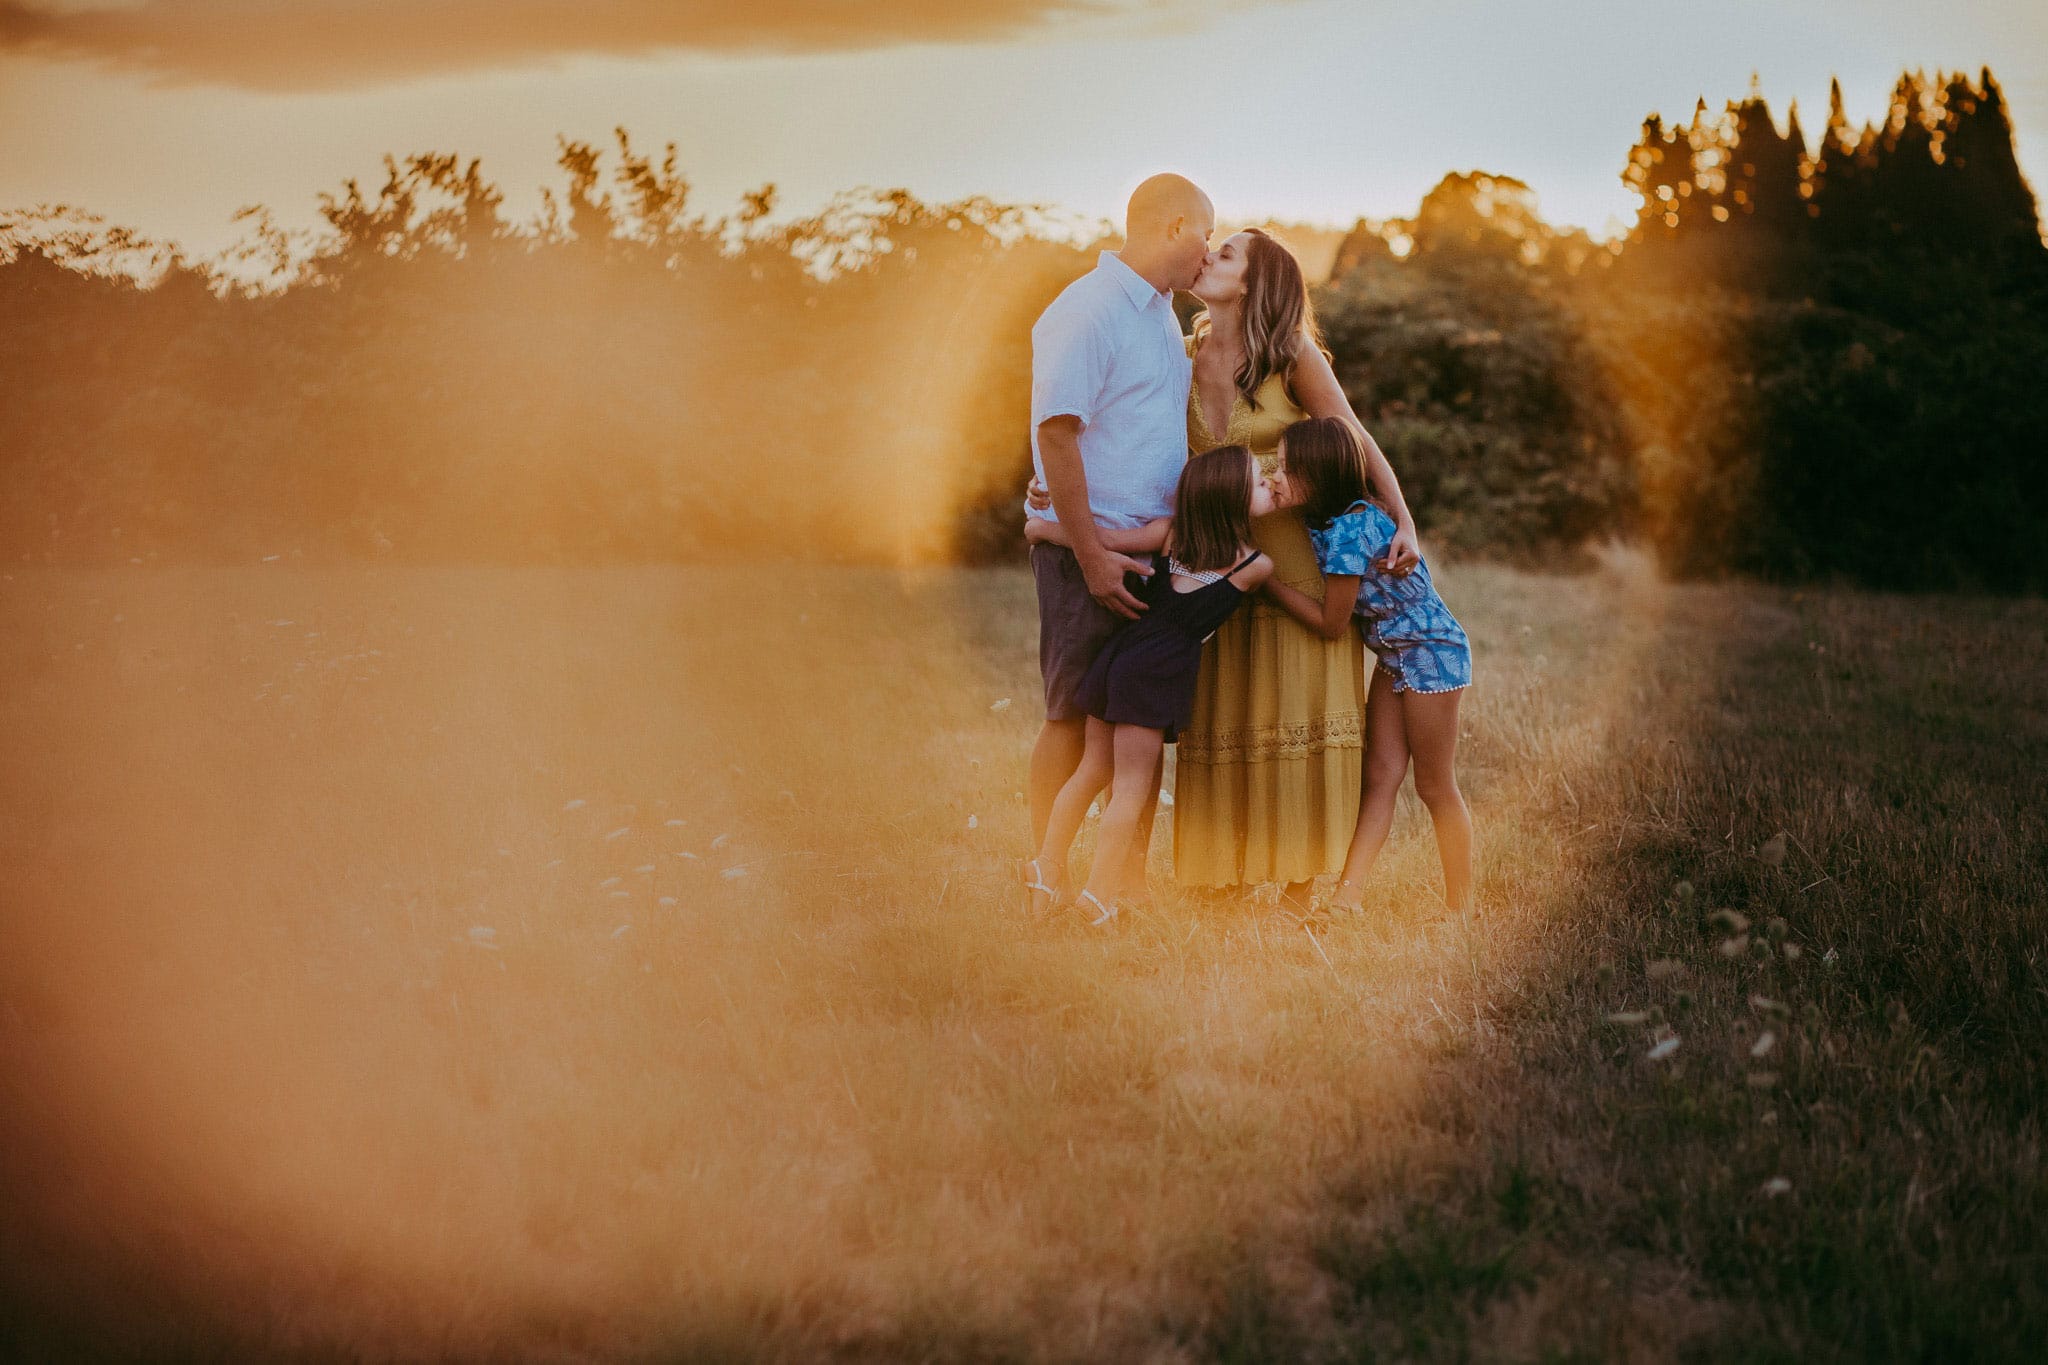
What I’ve noticed about sun placement is that this works best when the sun is being blocked partly by something (horizon line, a tree, a building, leaves, etc).
For this photo, I used a copper pipe, my 85mm and my aperture was at F2.2
In the photo below, I used a glass guitar slide and my 85mm at 2.5
Step 5: Try different placements
You will be holding the copper pipe (or guitar slide) up to your lens, but just be careful not to touch it to your lens, we don’t want any scratches! You can’t keep your lens hood on to help you with not touching it to your lens because you can’t get the pipe close enough to your lens. But putting a lens filter on can help protect it.
Use two fingers to hold the pipe up close to your lens, and then look through your viewfinder or at your live view to see what it looks like. Try tilting the pipe a bit or holding it farther from your lens and see what happens. Sometimes you might see your fingers so you have to play around a bit. Experiment with where you’re standing in relation to the sun. You might get a complete ring, or a partial, or possibly a split in half ring. Basically, it is all just trial and error so have fun and see what you can create! Make sure to check the photo after you take it because it will usually look different than what you were seeing.
85mm at F2.0 – 2.8 with copper pipe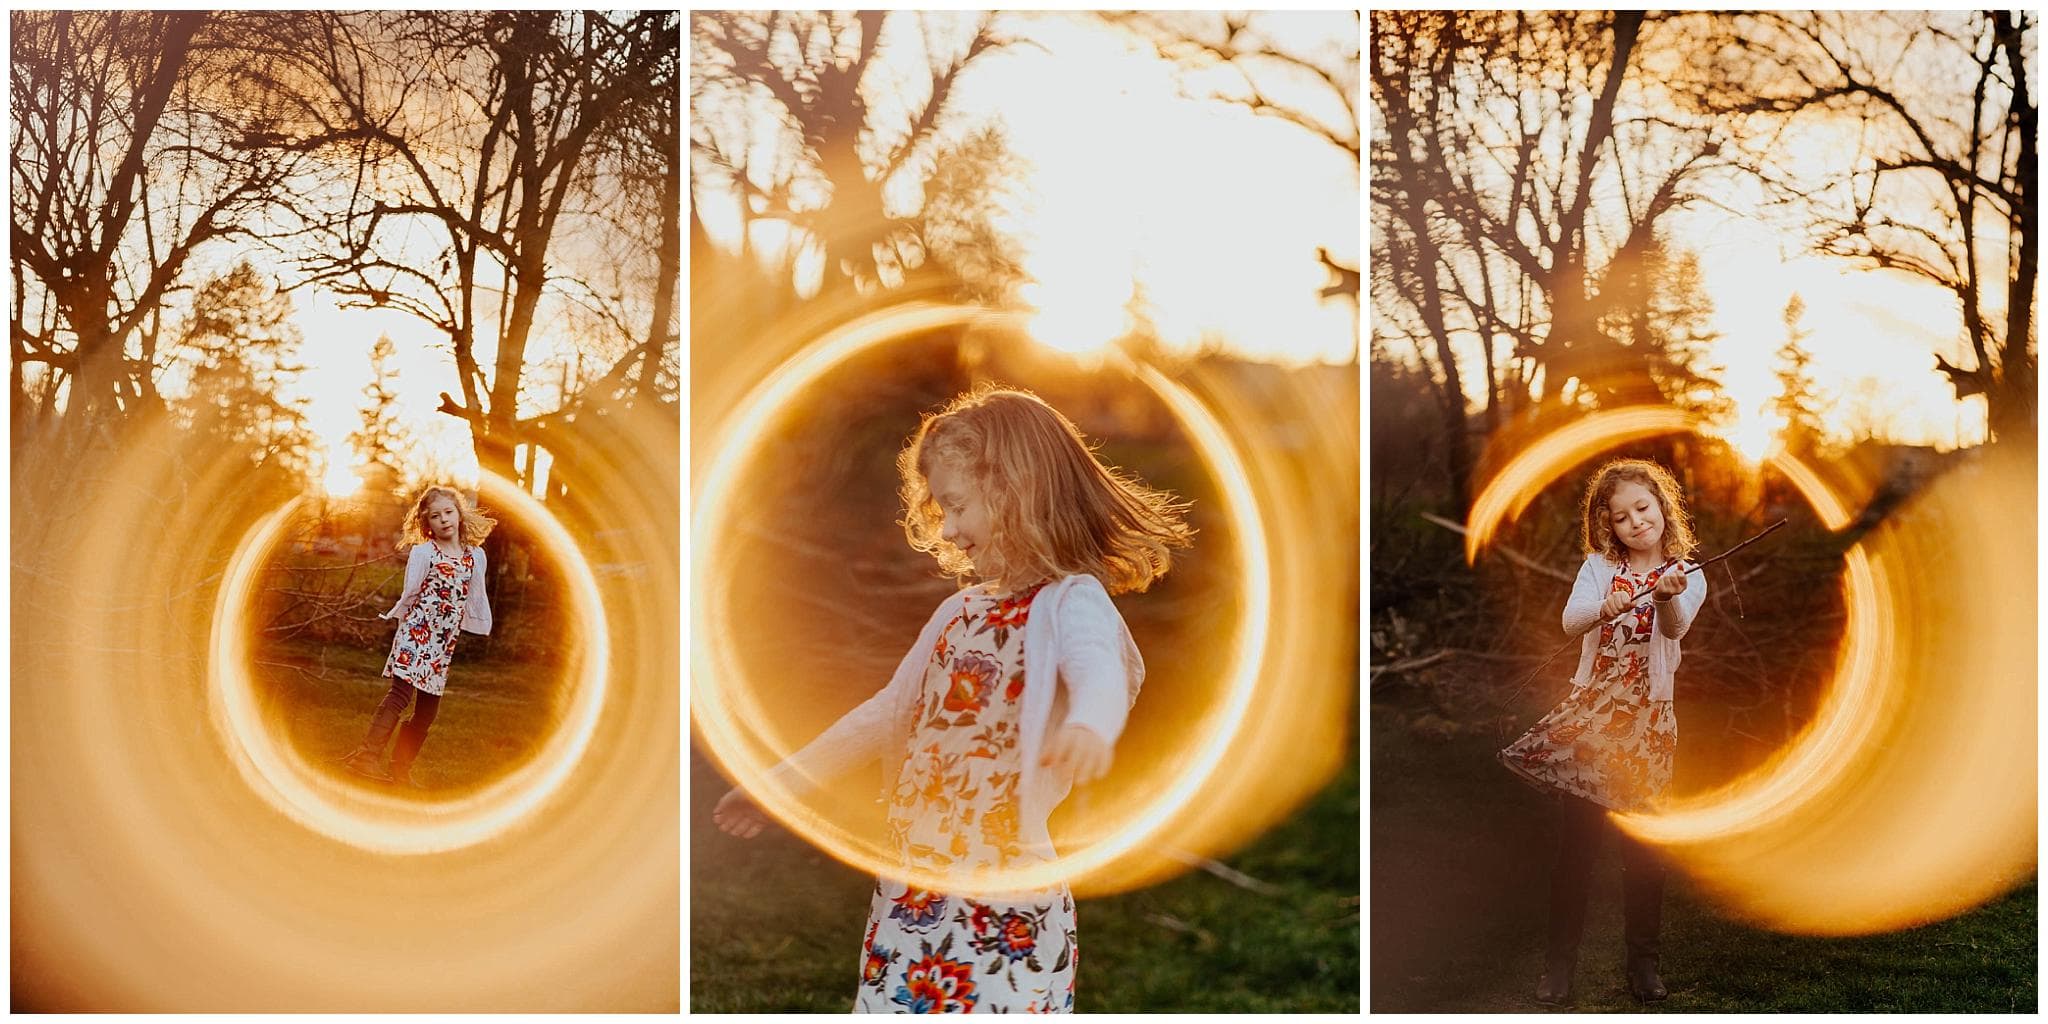
I love that this one turned out looking like a rainbow over them. This was my 85mm at F1.8 and a copper pipe

Copper pipe – 85mm at F2.8. Sometimes the ring will split in half and you’ll get this cool effect!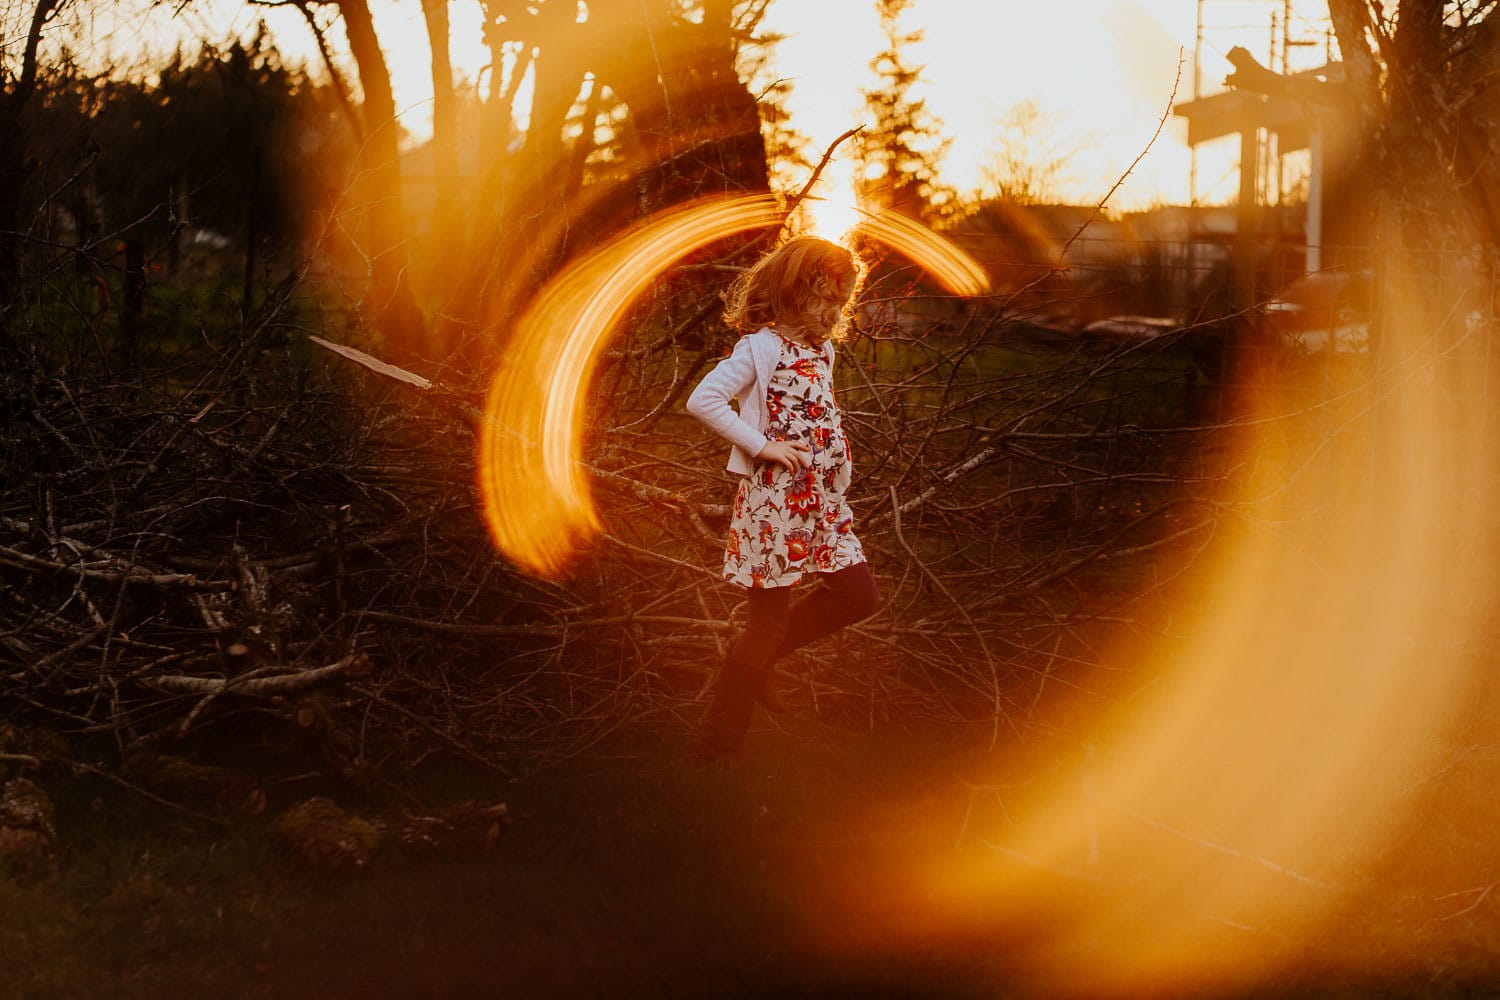
85mm at F2.8 – The sun was setting quickly so there was only a sliver of it, which is why you can see more of the copper pipe color on the outer ring. I don’t mind it ;).

For the next three photos, I used a glass guitar slide and my Lensbaby Sol45 which has a fixed aperture of 3.5.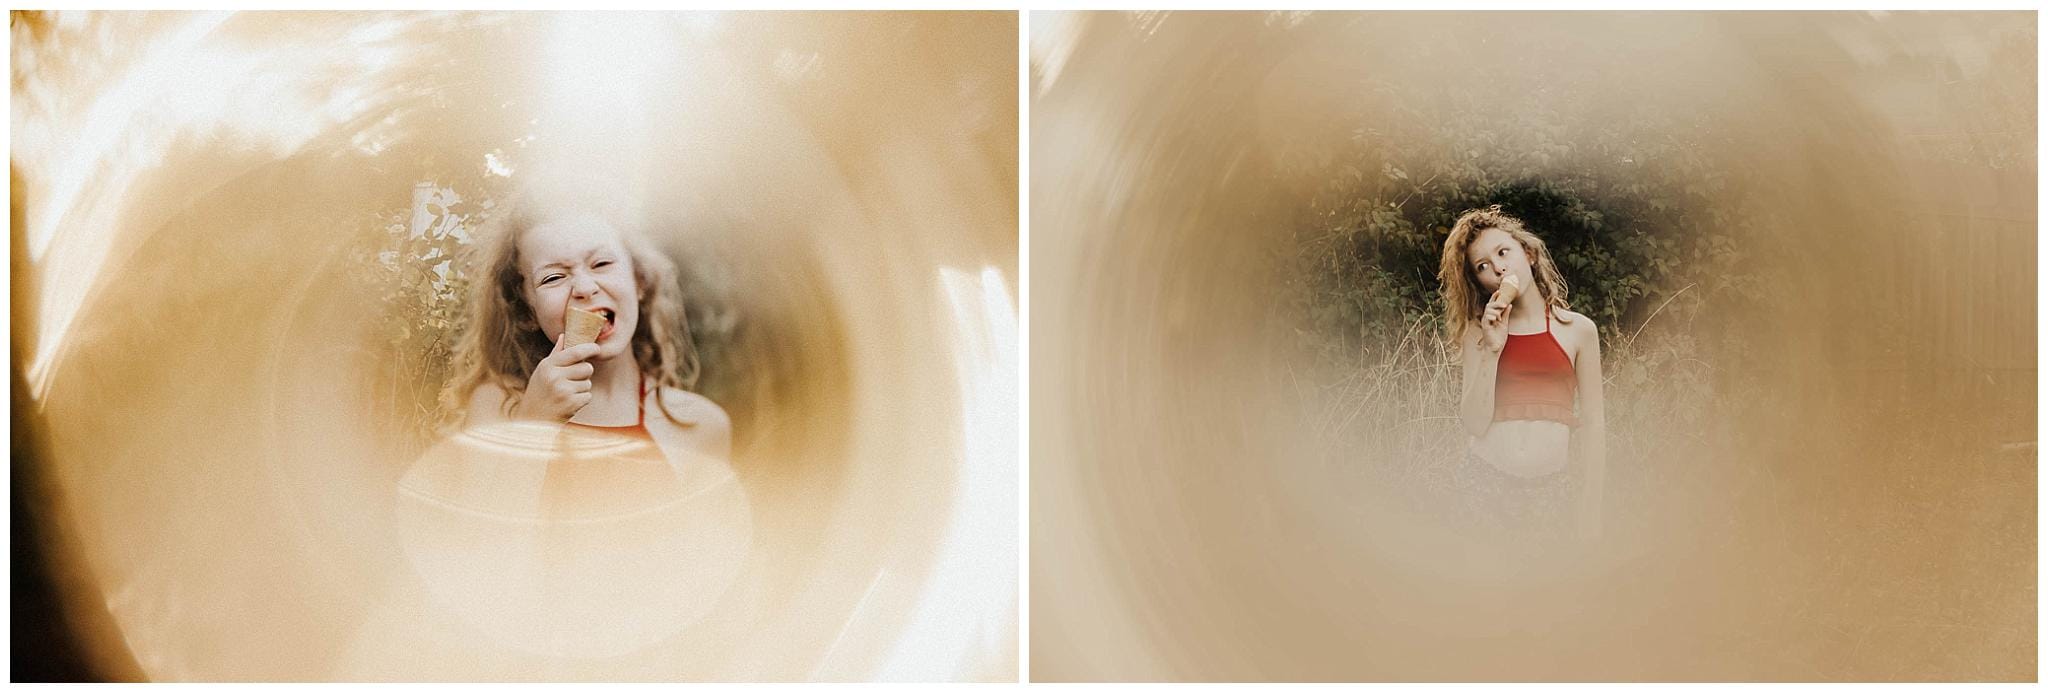

This senior image was shot with an 85mm at F2.2
85mm at F1.8
85mm at F1.8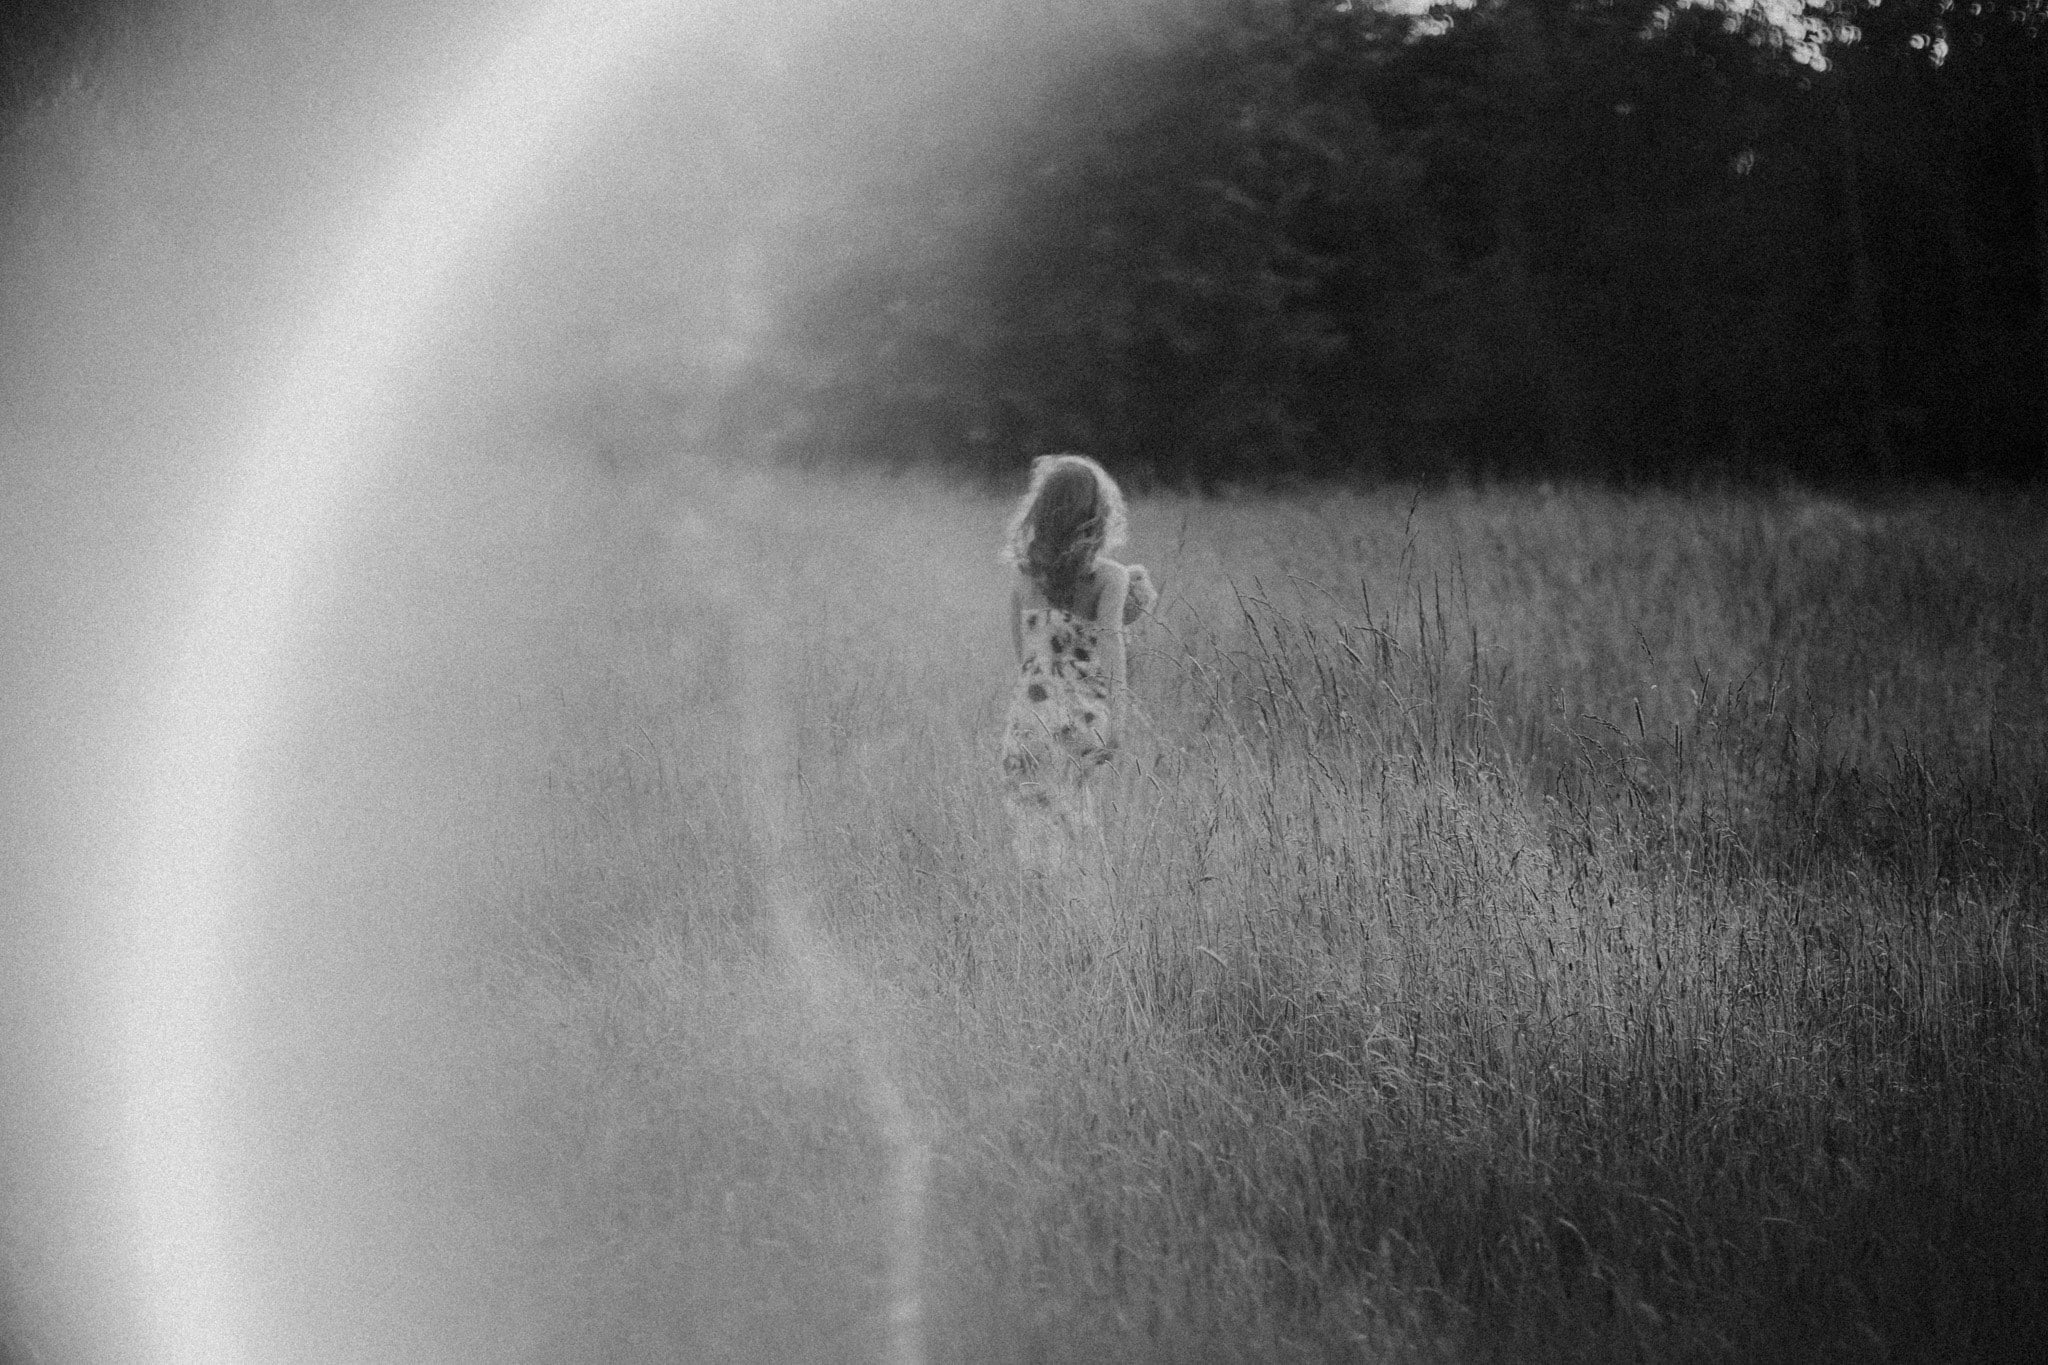
Below are outtakes for more reasons than one ????. My finger was totally in these shots, which is something you’ll be constantly trying to avoid. I find that the shorter the focal length, the harder it is to hide your fingers. Also I wasn’t in quite the right position, so the ring wasn’t very pronounced. This was my 85mm at F2.8 with a copper pipe.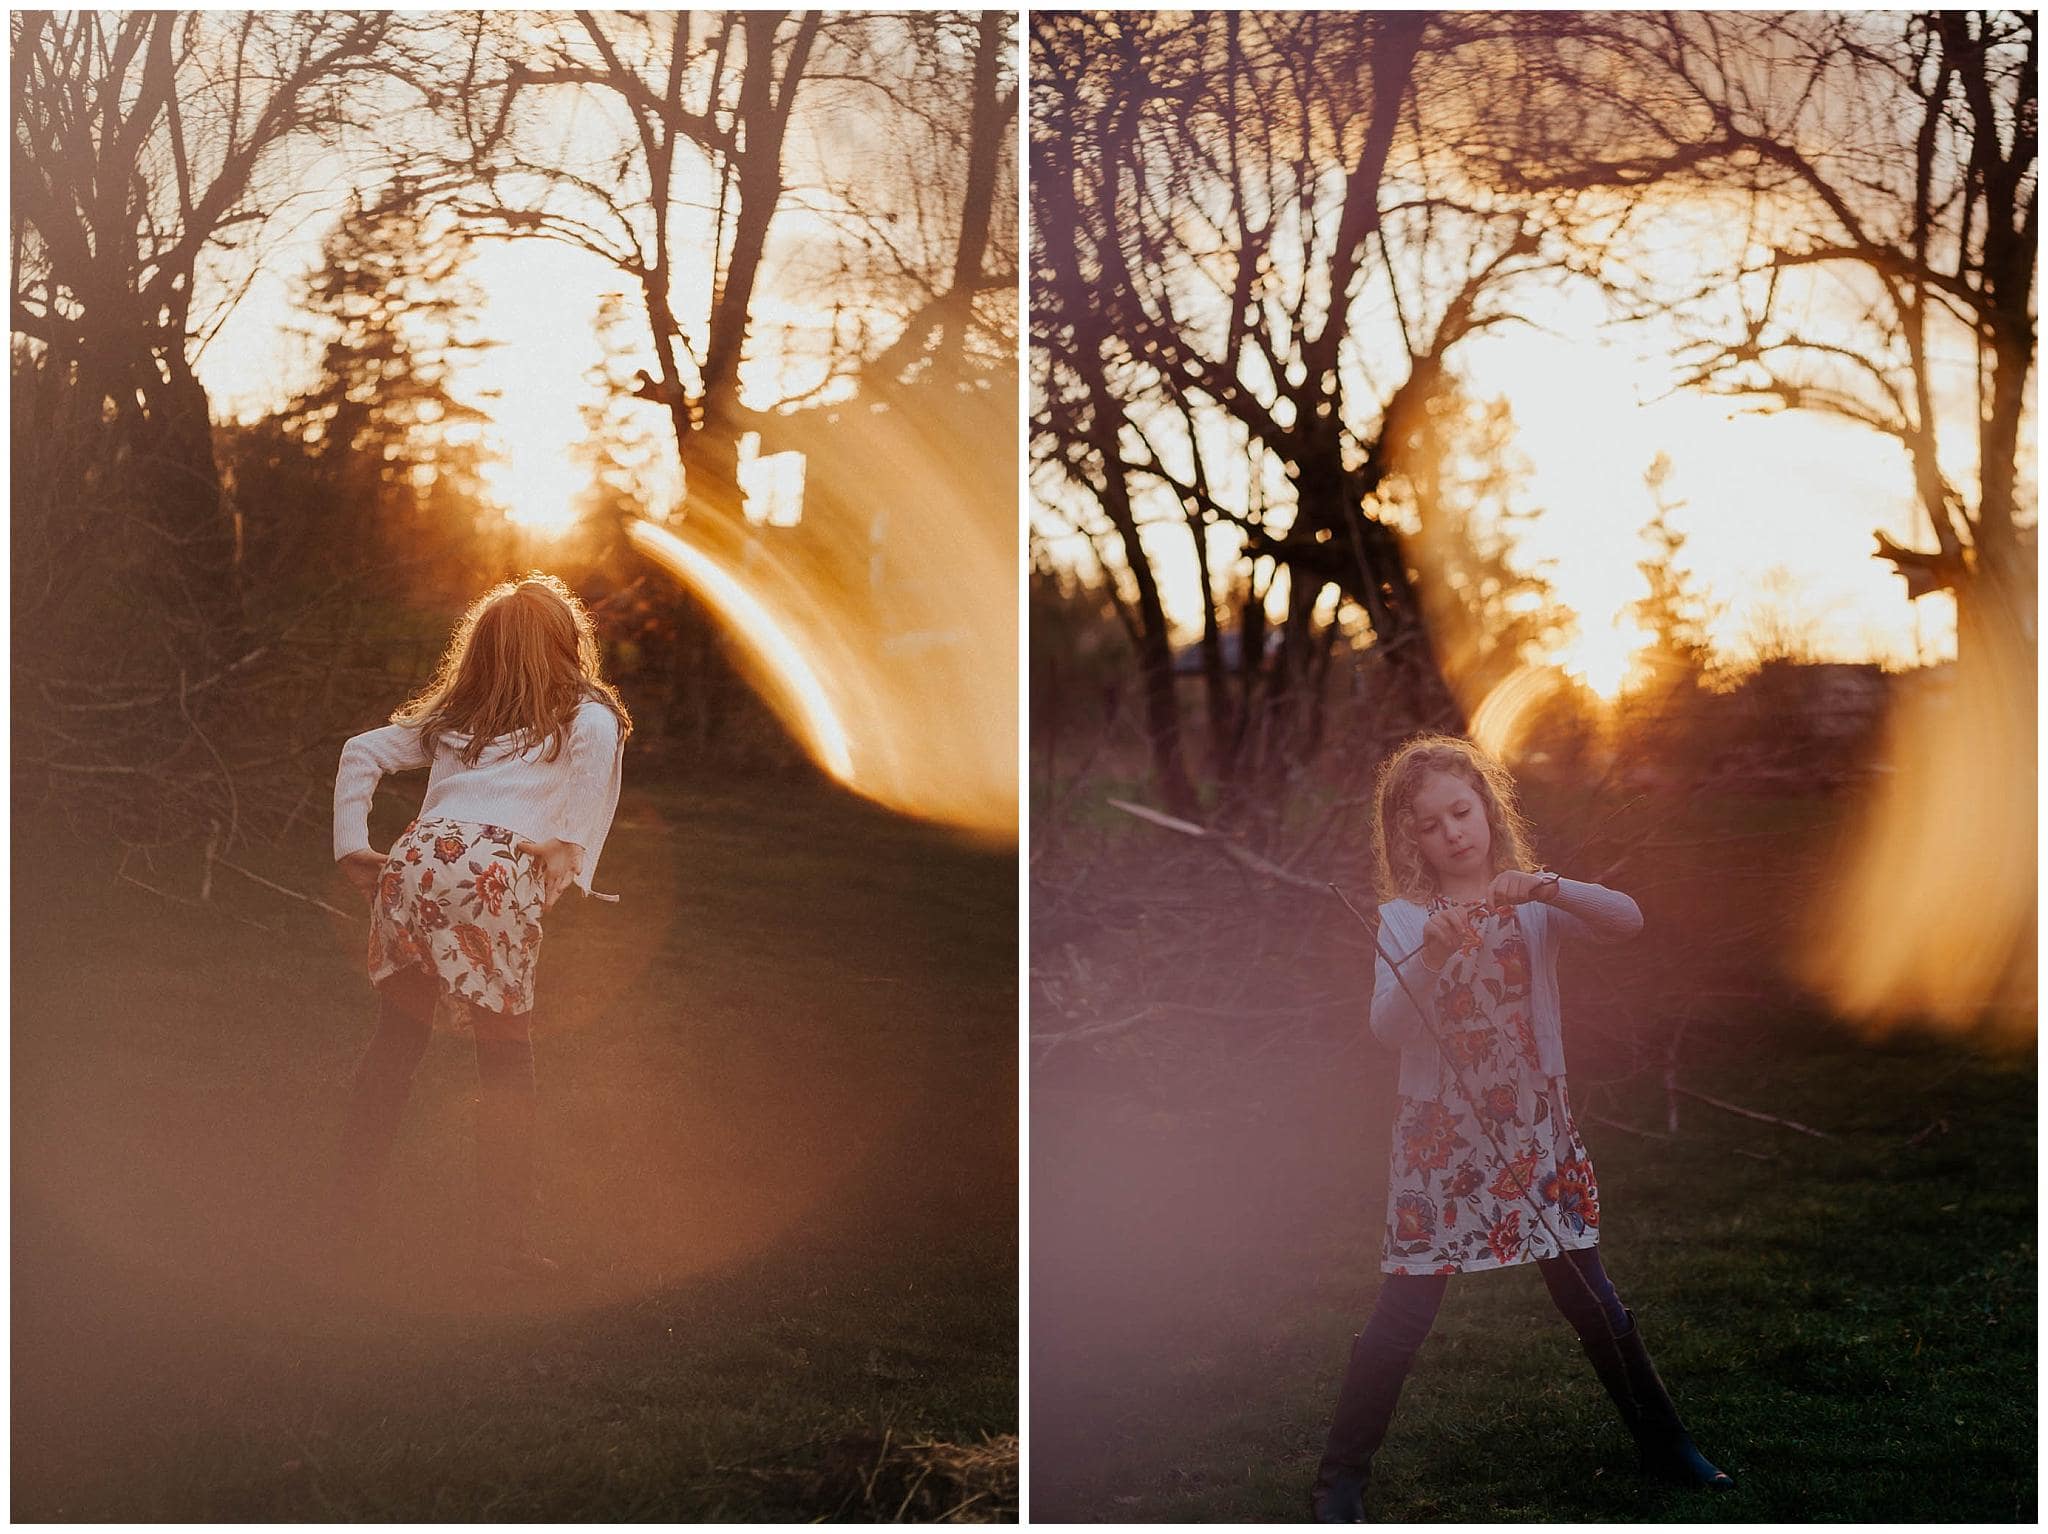
Using the Ring of Fire technique NOT at sunset
I’ve noticed that this technique is a lot harder to get good results when the sun is higher in the sky. It’s just so bright, so the ring takes up more of your image and turns out a lot more white. This was about 3 hours before sunset, and I used the tree leaves to filter the sun but it still isn’t my favorite. Here are some examples below. All were shot with my 85mm and a copper pipe. (And don’t ask me what my daughter is wearing in these, she definitely has her own style????):


Hopefully you’ve found this ring of fire photography tutorial useful! Please leave me a comment if you plan to try this, or if you have any questions. And if you do try it, please share your results! And remember, if you want to try this yourself, you can pick up your own guitar slide set here.
Other Fun Photography Tutorials
If you liked this tutorial on how to create the ring of fire in your photography, I also wrote some other blog posts on how to create some amazing effects. Go check it out:
Circular Prism Photography Tutorial
Creating Dreamy, Beautiful Images with the CineBloom Lens Filter
I have tons more blog posts for photographers, plus a shop with helpful guides. I also sell my presets! Check my resources for photographers page for more info.


Love this. YOU’VE inspi me to the buy a copper pipe this week!!!
What a great tutorial! Ill DEFINITELY be tryIng this out soOn! ThE Glass pipe Sounds So intriguing!
I’ve been wanting to try this! Thank you for laying it all out!
What a fun tUtorial!! Can’t wait to trY this out!
I would love to see if you do!
LOOKING FORWARD TO TRYING THIS, THANK YOUFOR THE GREAT WALK THROUGH
Una explicacion muy detallada. unas fotos, obviamente preciosas. Gracias por tu contribución!!!!