How to Organize Your Digital Photos for Savvy Family Photographers
As a family photographer, you probably have thousands of photos stored on your hard drive, but keeping them organized is not easy when you don’t have a clear plan. So I’m going to share some tips with you so that you can easily find and access the digital images you need! I know it’s not the most fun thing in the world (organization… yuck!) but it’s important ????.
Some of the links in this post may be affiliate links, but only for products that I use and love. If you buy through them, I’ll earn some cash for coffee (or tea). But don’t worry, I’ll use that energy to create more helpful content for you!
Tip 1: Create a folder structure
RAW file folder organization
When organizing your RAW photos on your hard drive, create a main folder for all of your RAW files, and then create subfolders for each year. Inside that folder should be each session you’ve done organized by date and the client name. For example, you could have a main folder called “RAWS” with subfolders for “2022,” “2023,” etc. Inside each of those folders would be folders structured like this: “2023-01-15 Client McClientson.”
Edited photo organization
You’ll also want to have a different main folder for your finished edits for better organization. You could name this folder “Final Edits” and inside could be organized in two different ways (whichever makes more sense for you). Let’s discuss the two ways I suggest.
Option 1: Folders organized by client name. This is what I personally do because I can then sort that folder by either date created, date edited, or name, so I can easily find the folder I’m looking for.
Option 2: Folders organized by type of photo session (family, maternity, couples, etc), and within those folders would be folders organized by client’s name. If you are often looking for photos depending on the type of session, then this would be a great option.

Organizing your favorite family photos for social media and your website
If you post your favorite photos on Social Media and/or to your website, you may want to create some file organization for that to make them easily accessible. What I do is make a folder called “Social Media”, and inside I have it organized by session type. When I export my favorite photos that I want to post on social media, I put them in the correct folder.
For web-sized photos that are optimized for the web (so they load faster), I make a “Web Sized” folder and organize it into folders by description of the session or what I think I might blog about. That way when I’m ready to upload the images to my blog, I can find them.
Tip 2: Use keywords and tags for quick access
A great idea for organizing your photos is to assign keywords and tags to your photos to make them easier to find. For example, you could tag a photo of a newborn baby with “newborn,” a family session with “family,” and you could also tag the location name or tag it as “inhome.” This way, you can easily search for specific photos using keywords. You can add keywords to your photos in lightroom when you import galleries. It only takes a few seconds and will save you so much time in the long run.
Tip 3: Back up your photos
Regularly back up your photos to an external hard drive or cloud storage service to ensure that they are safe in case of a hard drive failure. I personally use Backblaze for this! Backblaze is an online backup service that allows users to store and protect their data in the cloud. It automatically and continuously backs up all of your files, including photos, documents, and videos, without any effort on your part. I had a hard drive crash and could have lost a ton of photos and files, but Backblaze came to the rescue by sending me a hard drive with all of my files. They charge you for the hard drive initially but refund the cost once you return the hard drive. Amazing.
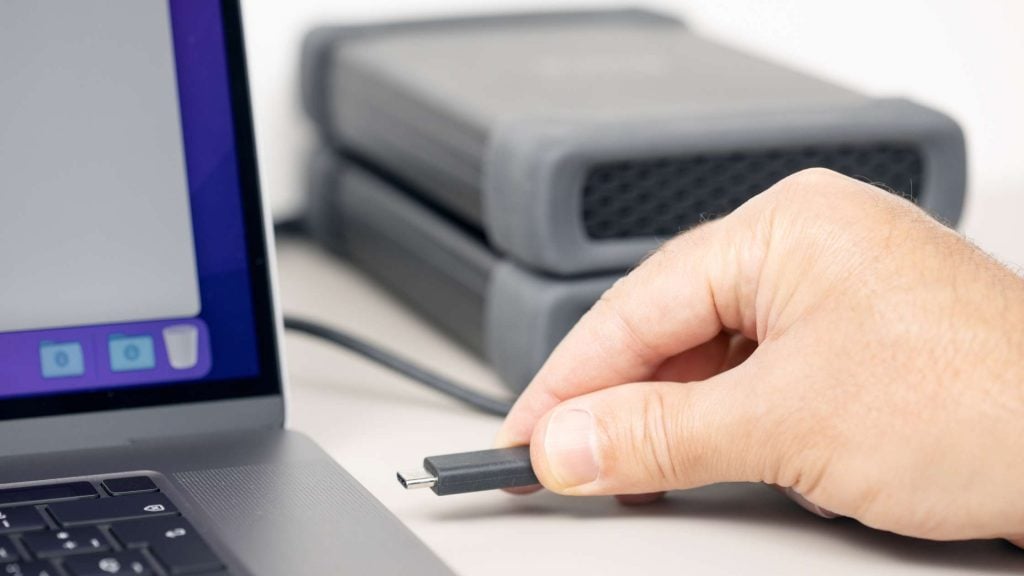
Tip 4: Archiving your photos
As you accumulate more and more photos, it may become necessary to archive some of them. Archiving your photos means moving them to a separate location, such as an external hard drive or cloud storage service, to free up space on your main hard drive. I have a couple external hard drives that I keep old photos on that I don’t really need to access very often. I usually move the photos from the RAW and Finished Edits folders from my working SSD drive over there every few months.
What to do next!
By following these tips, you can keep your family photography business photos organized and easily accessible. Remember to regularly review and clean up your hard drive to keep it running smoothly. If you’d like to learn more about how to run a successful photography business, join Family Photography Biz School, my course for learning the business side of family photography!