Shooting and Editing on Overcast\Cloudy Days + Best Lightroom Presets
Photographing and Editing Tips + Lightroom Presets for Cloudy and Overcast Days
Editing photos that were taken on cloudy days or in overcast conditions can be a struggle, so I’m going to share with you some tips to make your Lightroom presets work for you and also tips for shooting in good light when there are overcast skies.

Before editing, you need to photograph people in good light
If you’ve taken photos in bad lighting, there’s really nothing you can do to make it look amazing, even with the perfect Lightroom preset. So be sure to put your subjects in great light while photographing them. If it looks like the sun won’t be coming out, I typically start 2-2.5 hours before sunset to be sure we have enough light, or an hour or two after sunrise. Do not shoot midday, even on overcast days, because the light is coming from directly above and that will create unflattering light and raccoon eyes (dark eye sockets).
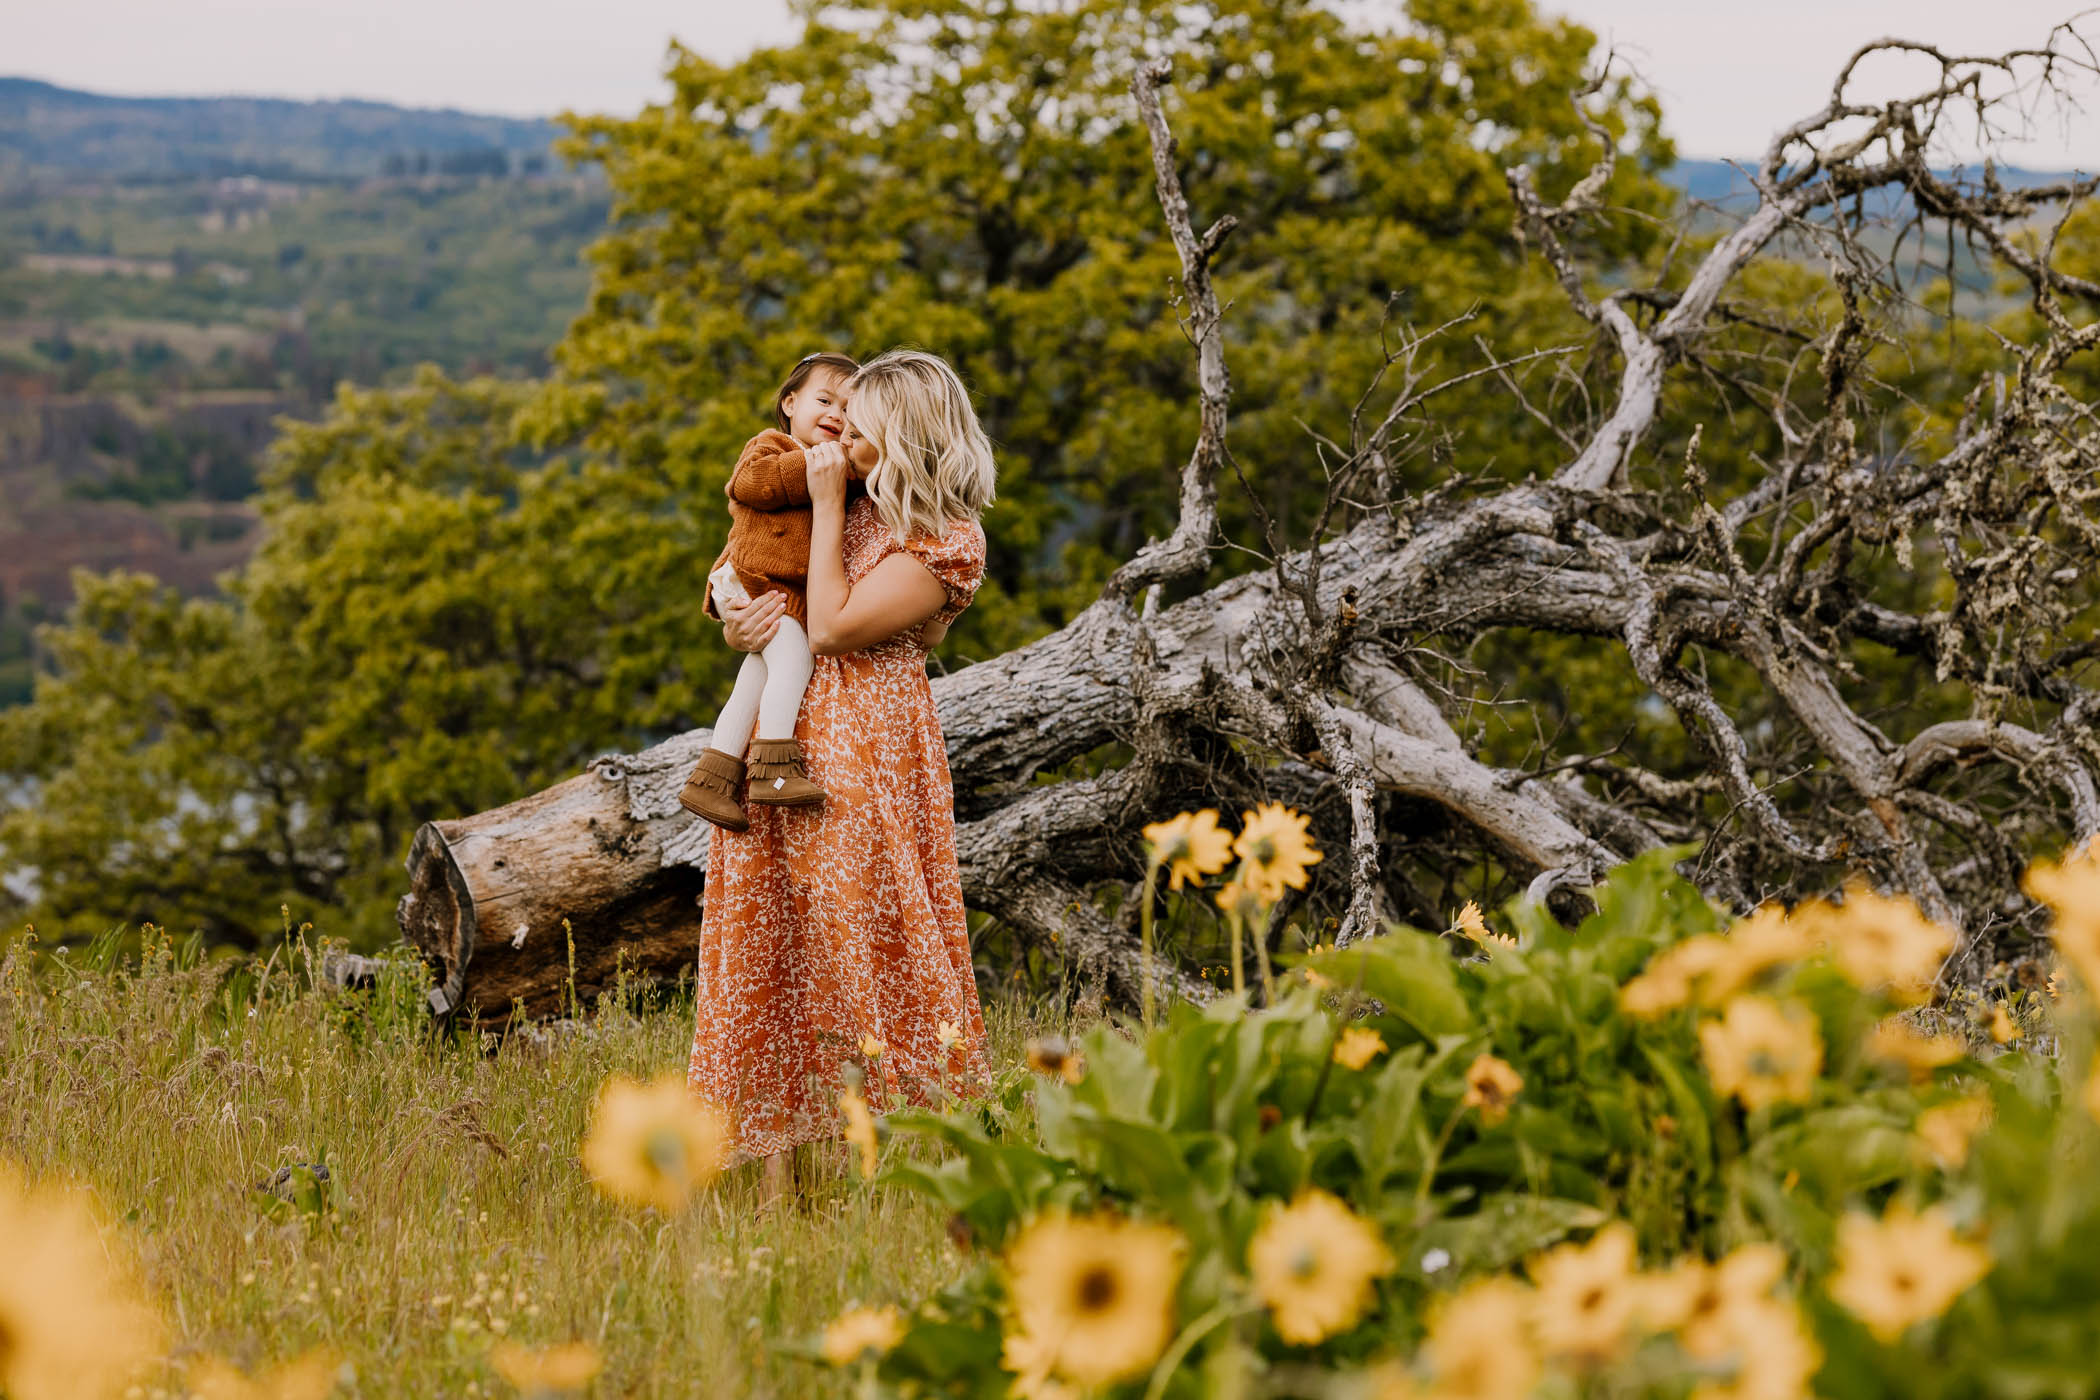
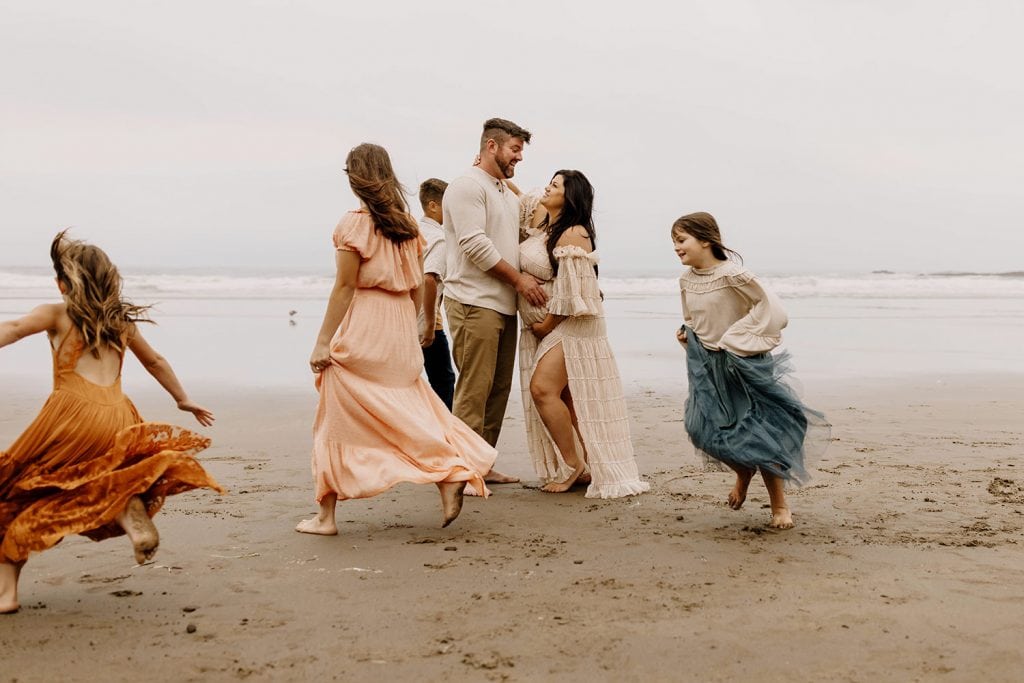
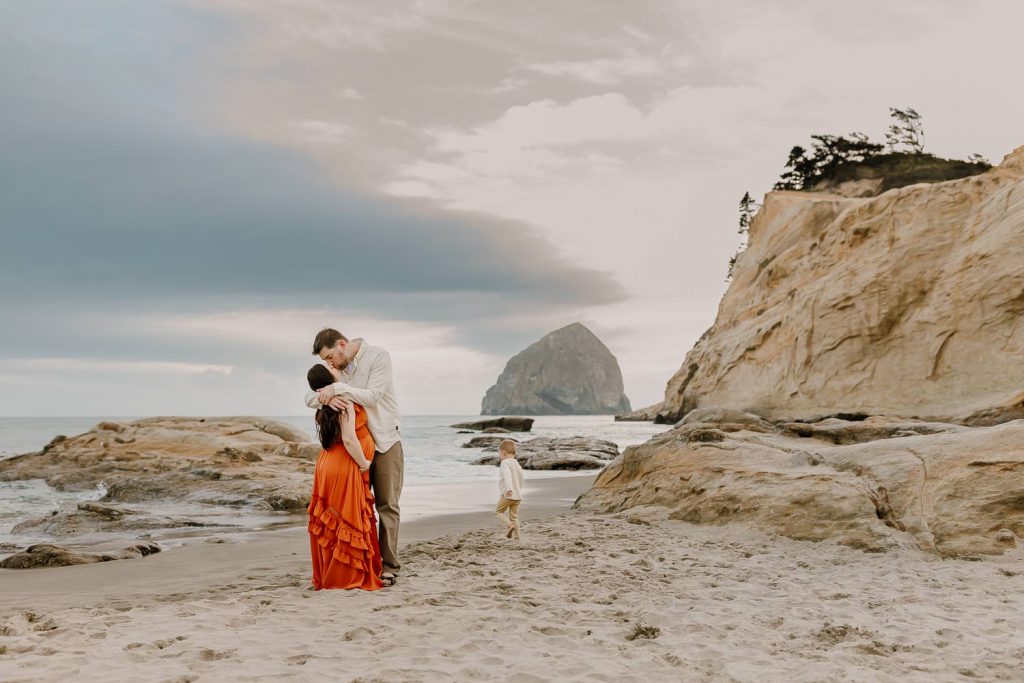
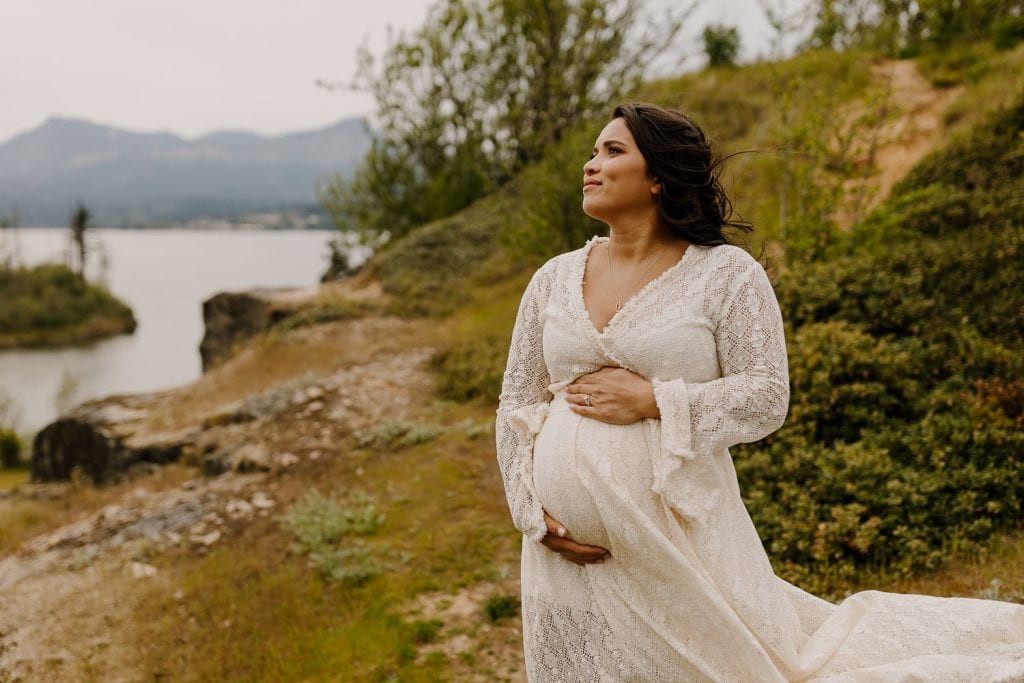
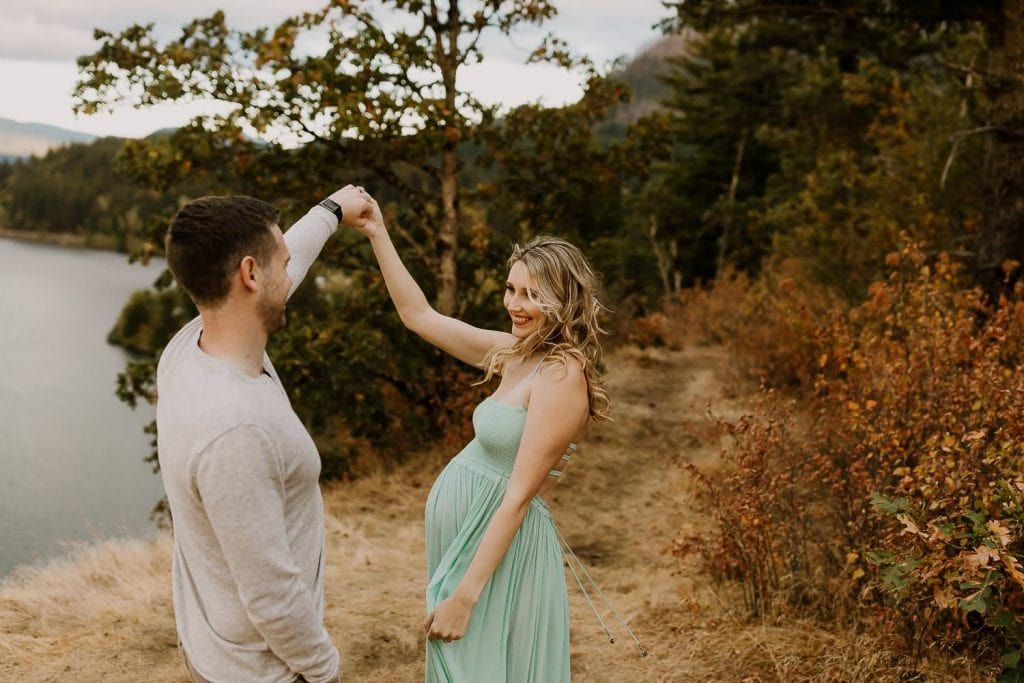
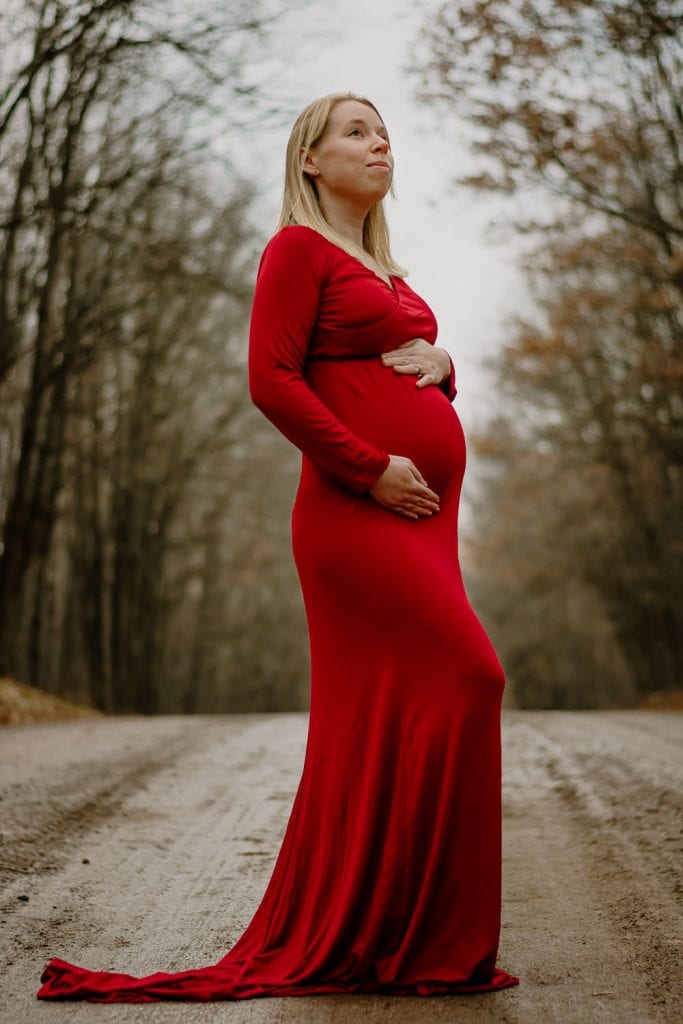
When the sun is blocked by clouds, I have my subjects facing where the sun would be. This helps to keep them evenly lit. If you have the sun behind them when the sun isn’t out, that will result in dark shadows under their eyes. If you want to do this for some shots, have them turn so you see their profile instead of facing you, like in the photo below.
I also absolutely love having my subjects lay down and shooting from above. On overcast days, the sky is a giant softbox coming from above, so this is the most perfectly lit shot you can get!

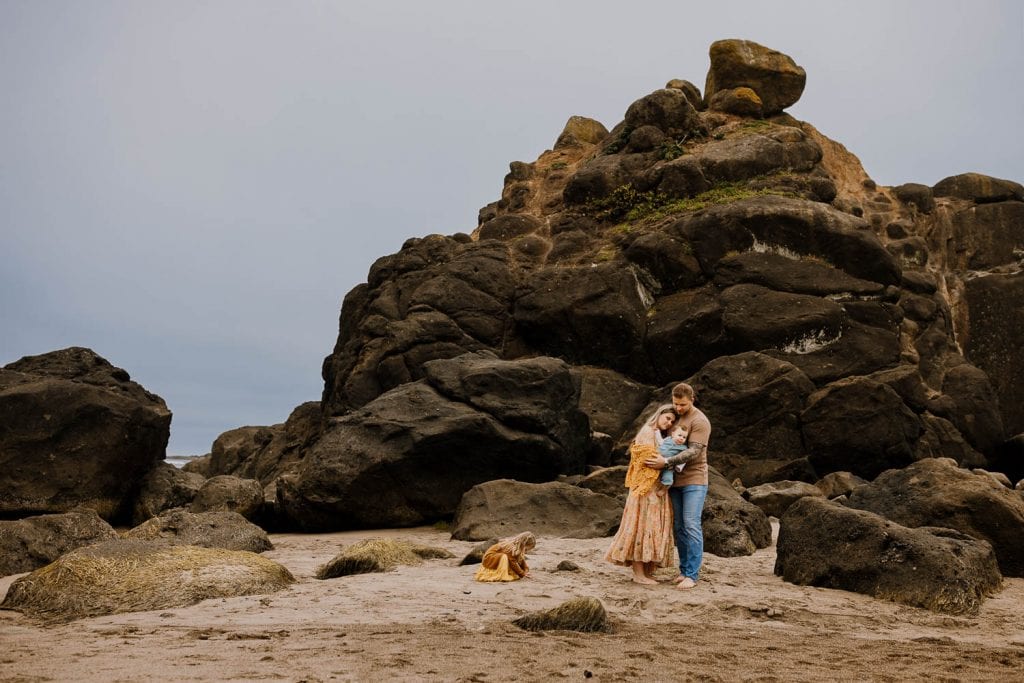
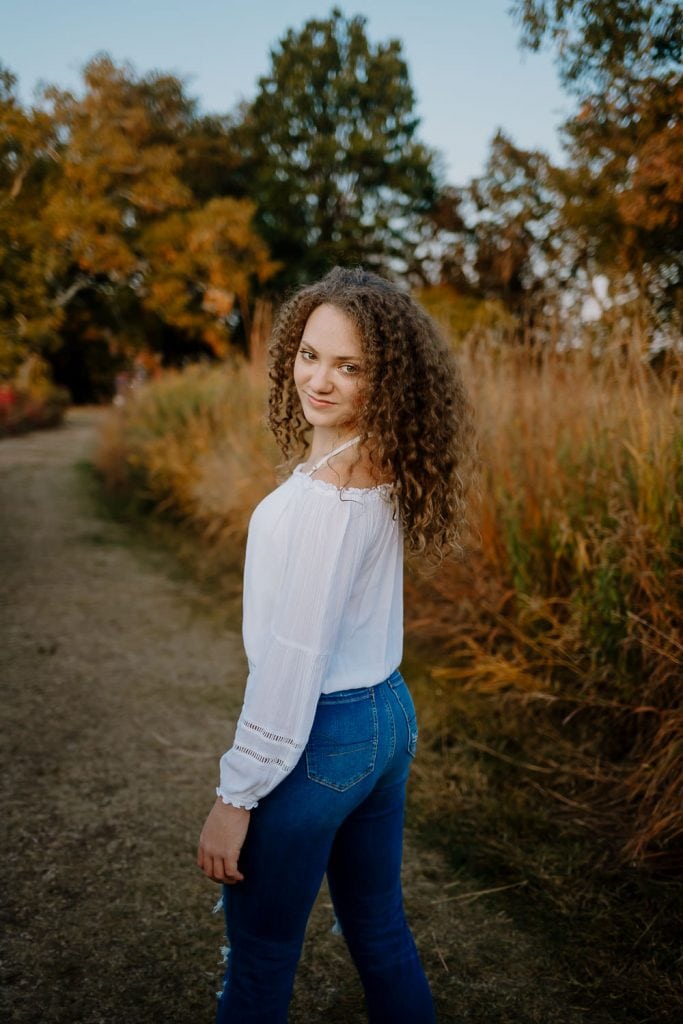
Don’t go deep into the shadows. On dreary days, this is a bad combo. You want to be out in the open where your subjects have an open sky in front of them because that is what is going to reflect back onto their faces and keep them nicely lit. If you face your subjects toward trees, there’s no light to reflect back onto them. On especially dark days, look for light, neutral-colored ground to have your subjects stand close to. That will reflect back onto them and also help to light them. Putting them in a field full of vibrant, green grass will reflect green onto them so make sure there’s a path in front of them or something to help reflect a light, neutral color. A white blanket can help, too.
Shooting on cloudy days can be beautiful if you know what to look for and what lightroom presets to use! Read on for editing tips!
Tips for editing photos taken on cloudy and overcast days

Add some warmth in Lightroom
When I’m getting photos taken on overcast days where there was no sun out at all, I usually have to make the photo warmer than I normally would. So move that temp slider in Lightroom more towards the yellow until it’s looking right. Pay attention to skin tones and make sure they don’t look muddy.
Lower highlights and raise shadows while editing
This will definitely depend on the image, but sometimes it helps to lower your highlights a bit and raise the shadows while editing overcast photos in Lightroom. If you’re familiar with the tone curve, you can also adjust that slightly to raise the shadows or lower highlights.
Brighten up faces using radial masks
In Lightroom, I couldn’t live without masks! I use them with every session, but especially with photos taken on overcast and cloudy days. I make sure to brighten up the faces of my subjects because they typically have more shadows on them. The way I do this is to grab the radial gradient in the masks area and drag it over the subject’s face, then I will raise up the shadows and whites a little. Some might think that raising exposure is the way to go, but I feel like it looks more natural to raise the shadows and whites instead. I will often use masks with similar settings and use Select Subject to brighten their entire bodies, too.
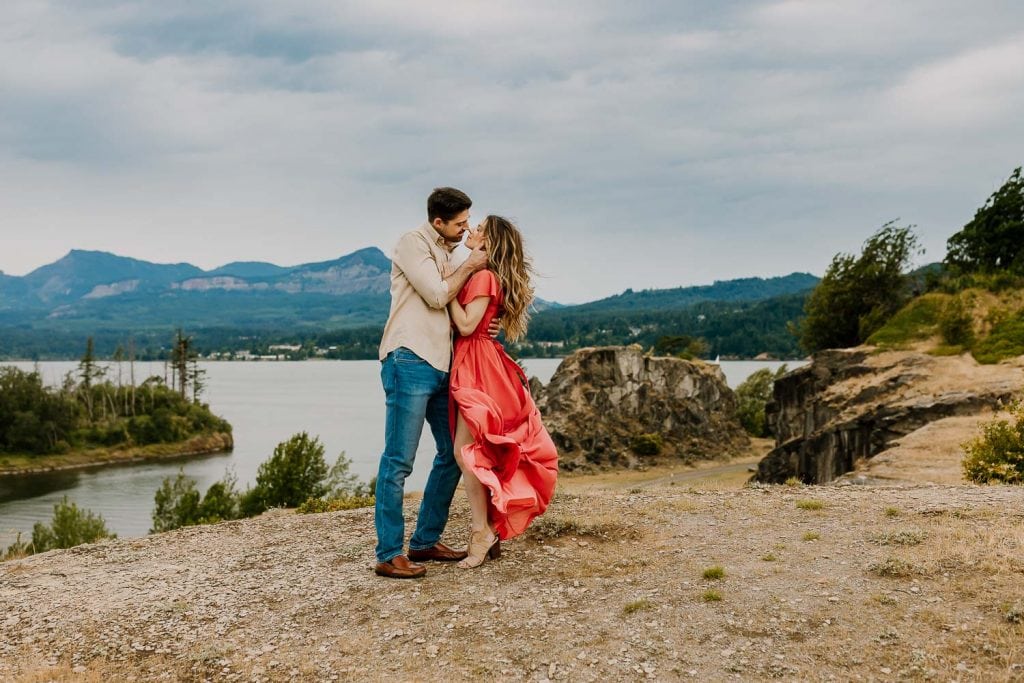
Make cloudy skies stand out
In Lightroom, you can use either the Select Sky Mask or the Linear Gradient Mask to darken the sky and really make it pop! Sometimes using the Select Sky mask just doesn’t work right, so here is what I do instead. Drag the Linear Gradient Mask down from the middle of the sky to just below the horizon line. You can adjust it to where it looks best, but I usually like the middle of the three lines to be on the horizon line or just above the tallest mountain peak depending on the landscape. Then I will deselect the subjects if needed.
The settings for this mask (either the Select Sky or Linear Gradient Mask) will vary but typically I bring the temp slider a little towards blue, lower exposure, bring up contrast, lower highlights (sometimes all the way), bring up texture and clarity a tiny bit, and raise saturation a touch. I have a sky mask preset that comes with my Inner Light Lightroom Presets to make it super easy for you to make your cloudy day skies more vibrant!

Choose the right Lightroom preset
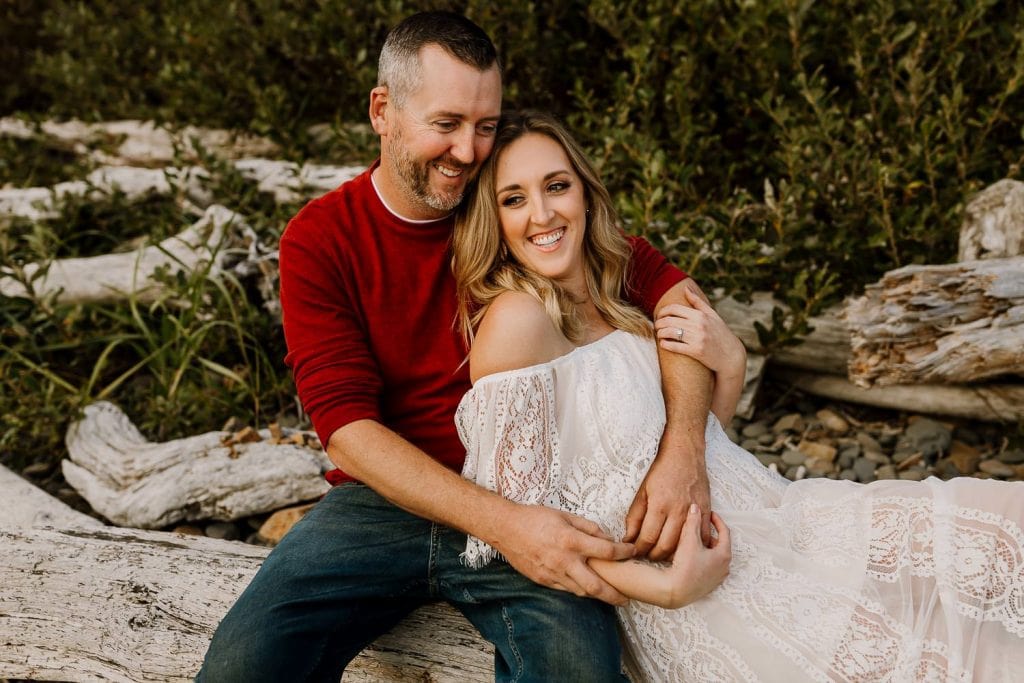
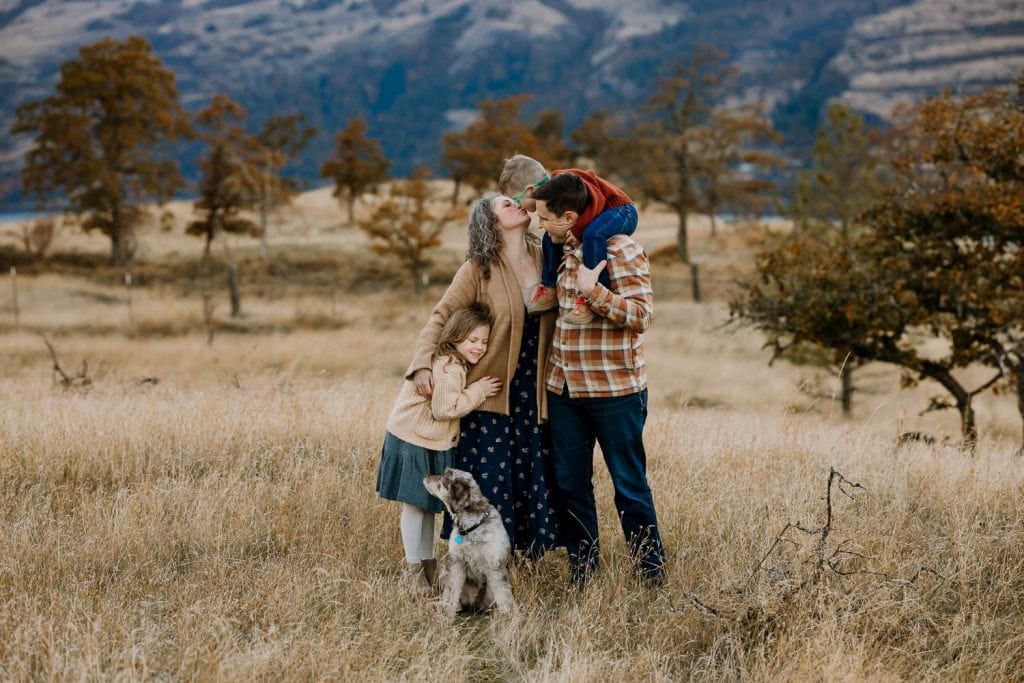
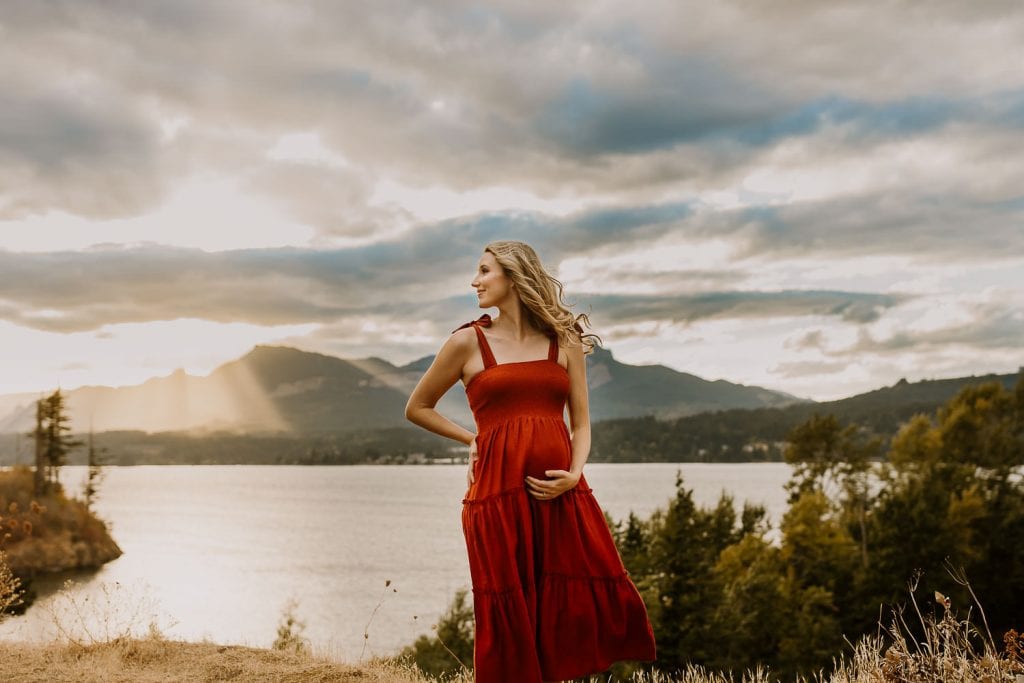
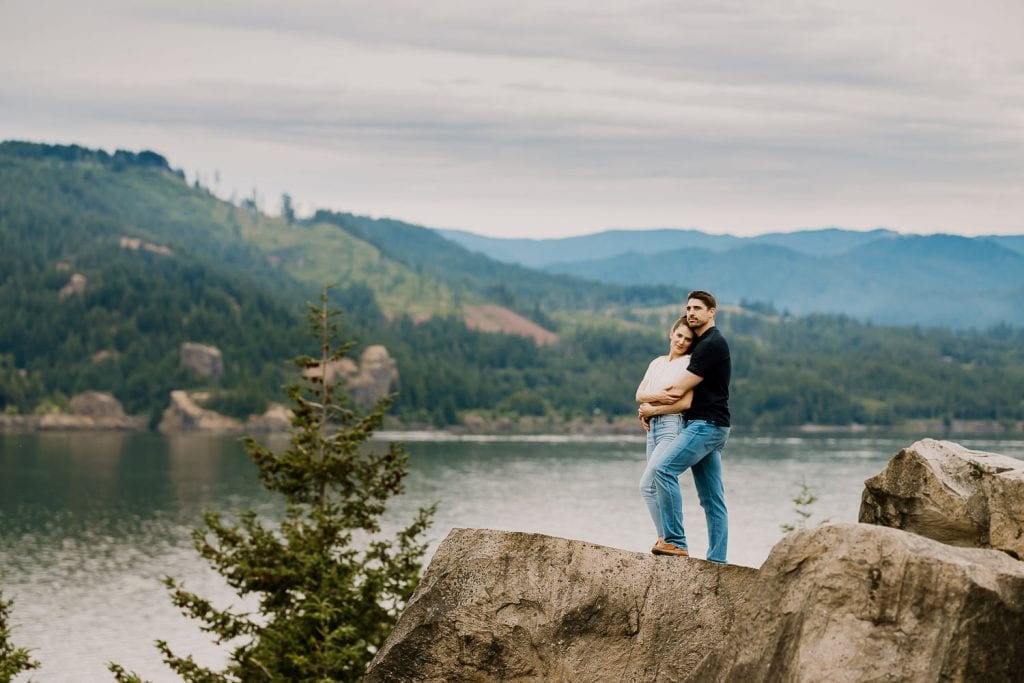
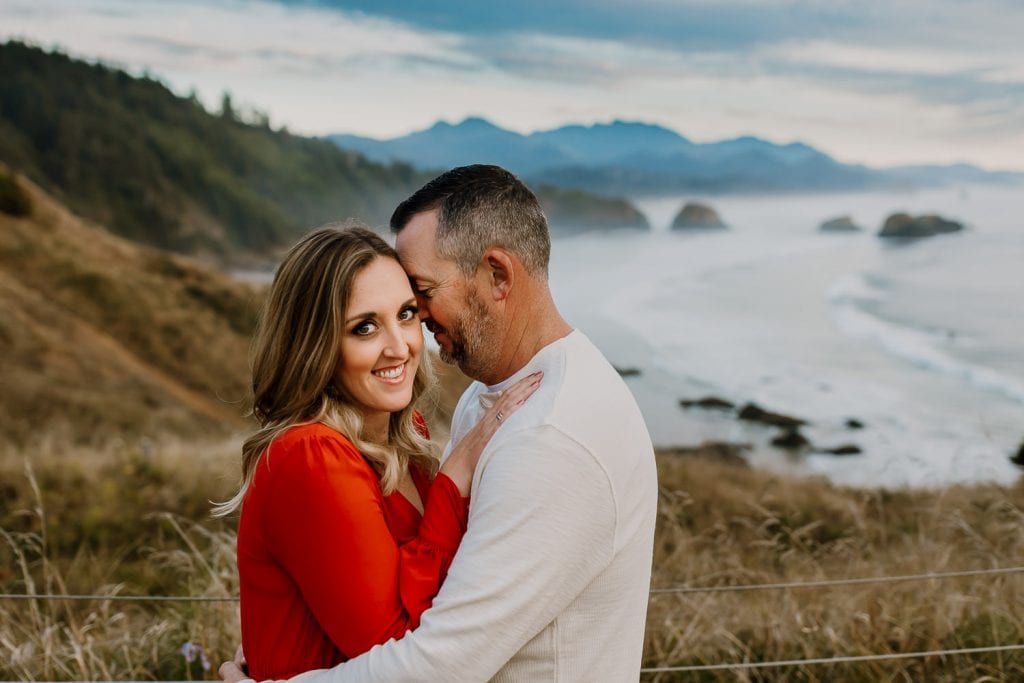
Some Lightroom presets make the shadows super dark, or have settings intended for sunny days that just don’t work on overcast photos. So either get a Lightroom preset that you know works great for cloudy days or be ready to do a lot of tweaking. My Inner Light Presets have 5 different color presets and they look amazing in all different kinds of light. All photos on this blog (and my entire website!) were edited with them. I personally recommend number 5 for cloudy days, called Punchy Warmth, which gives skin tones the perfect warmth and glow. You can find out more about them and purchase my Inner Light Lightroom Presets here.
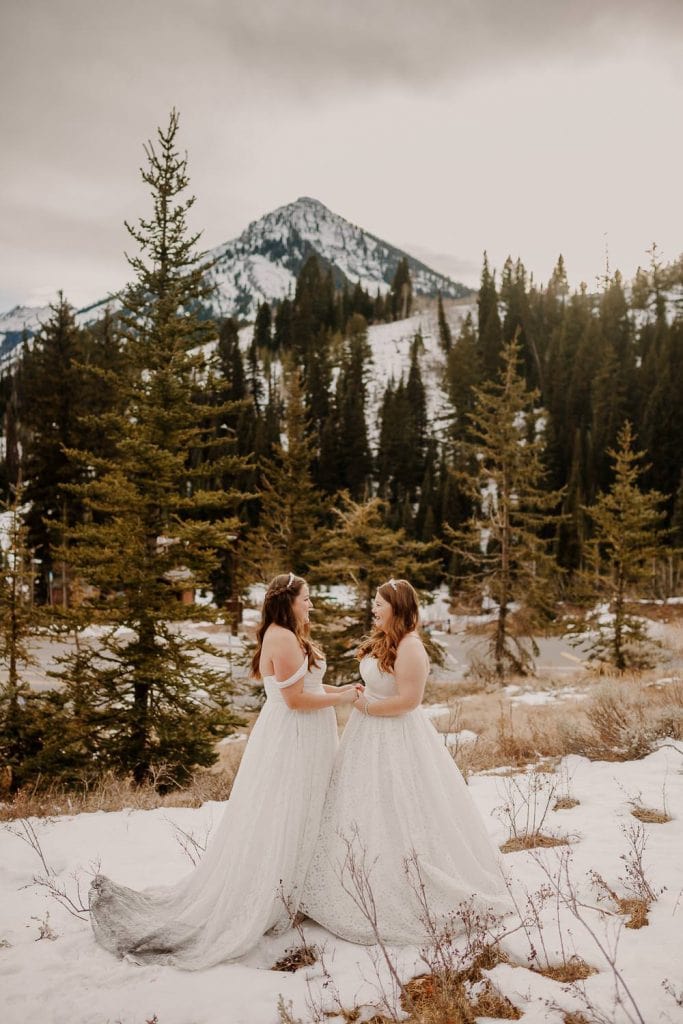
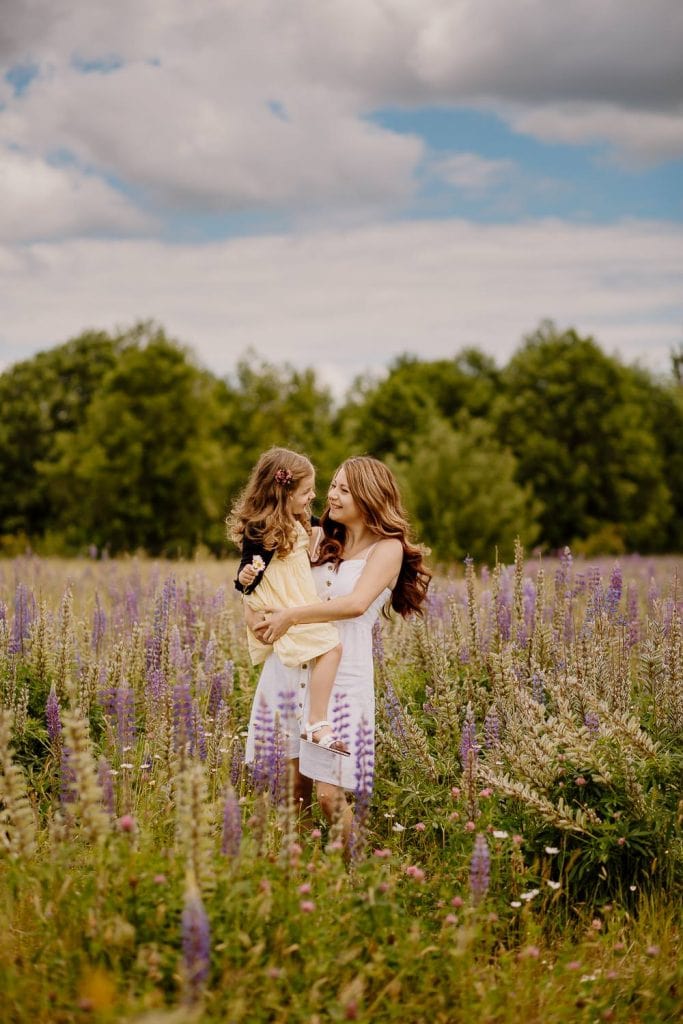
Here are some images by other photographers that were submitted for me to edit using my Inner Light Presets:
From Meghan G Photography:

From CC Portraits:
From Rebecca Marie Photography:
From Alyssa Ashley Photography:

I’m also participating in a blog circle this month! Be sure to check out my friend Michele’s blog, Fresh 48 Photographer in MN, who wrote a post all about must-have photos at a Fresh 48 session.
________________________
What to do next
Grab my Lightroom Presets that look amazing for cloudy day sessions! All the photos in this article were edited with them. And if you’re needing help with anything photography related, I offer mentoring for family photographers!


Thank you! This has been so helpful! I always struggle with cloudy weather and now I feel like I have a game plan going forward!